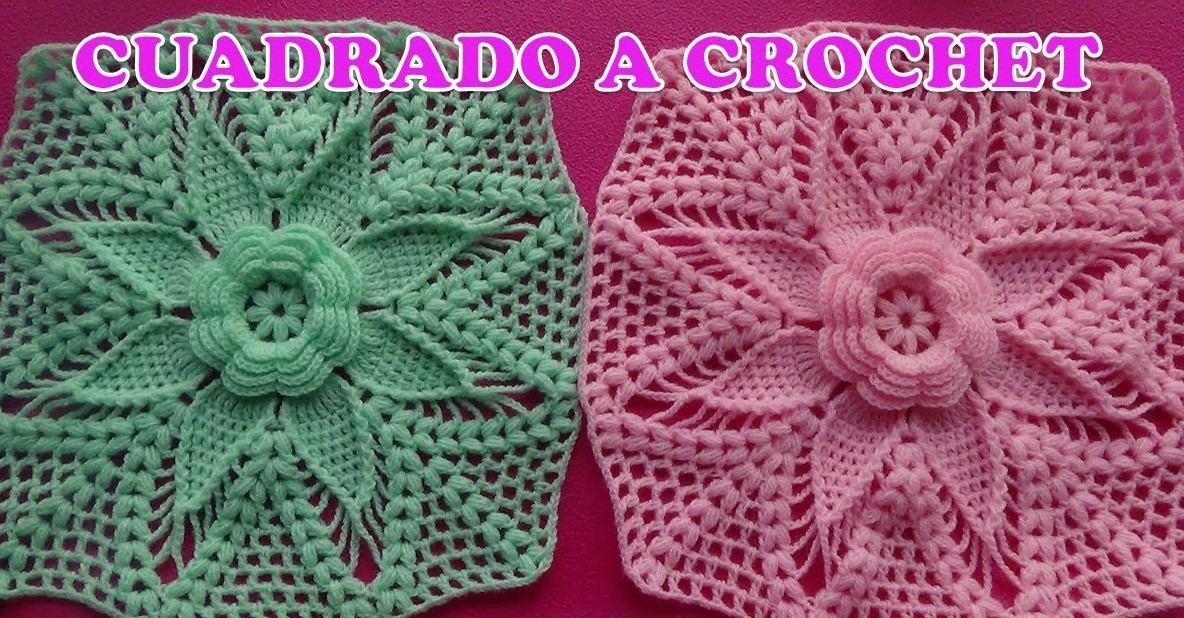
Crocheting is more than just a hobby—it’s an expressive art form that brings warmth, creativity, and personal flair to home decor. Among the myriad of patterns and stitches available, the herringbone and leaf stitches stand out for their elegance and texture. When combined in crochet squares, they form the foundation of breathtaking quilts and bedspreads that can be passed down through generations.
This article walks you through creating a crochet square using both the herringbone half double crochet (HbHDC) and leaf stitch techniques. Whether you’re making a quilt, a bedspread, or a decorative throw, these squares are modular, versatile, and visually stunning.

Tools and Materials
Before you begin, gather the following materials:
- Yarn: Medium weight (worsted weight, size 4) cotton or acrylic yarn for durability and stitch definition.
- Hook: 5.0 mm (H-8) crochet hook (adjust based on your yarn’s recommended size).
- Scissors
- Tapestry needle for weaving in ends
- Stitch markers (optional)
- Blocking tools (optional but helpful for uniformity)
Skill Level Required
🧶 Intermediate: While the individual stitches are not overly advanced, combining them and maintaining consistent tension for square-shaped motifs requires some practice.
Stitch Glossary
Before starting, get familiar with the main stitches used:
- Ch – Chain
- Sl st – Slip stitch
- Sc – Single crochet
- HbHDC – Herringbone Half Double Crochet
- Dc – Double crochet
- Leaf stitch – A decorative stitch mimicking a leaf shape, typically constructed using a mix of chains, double crochets, and picots in a petal-like formation.

Understanding the Pattern Layout
The square will be worked in rounds, starting from the center. We’ll alternate sections of herringbone stitch for texture with decorative leaf stitch motifs, creating a beautiful interplay between structure and detail.
🧵 Step-by-Step Instructions: Crochet Square with Herringbone and Leaf Stitch
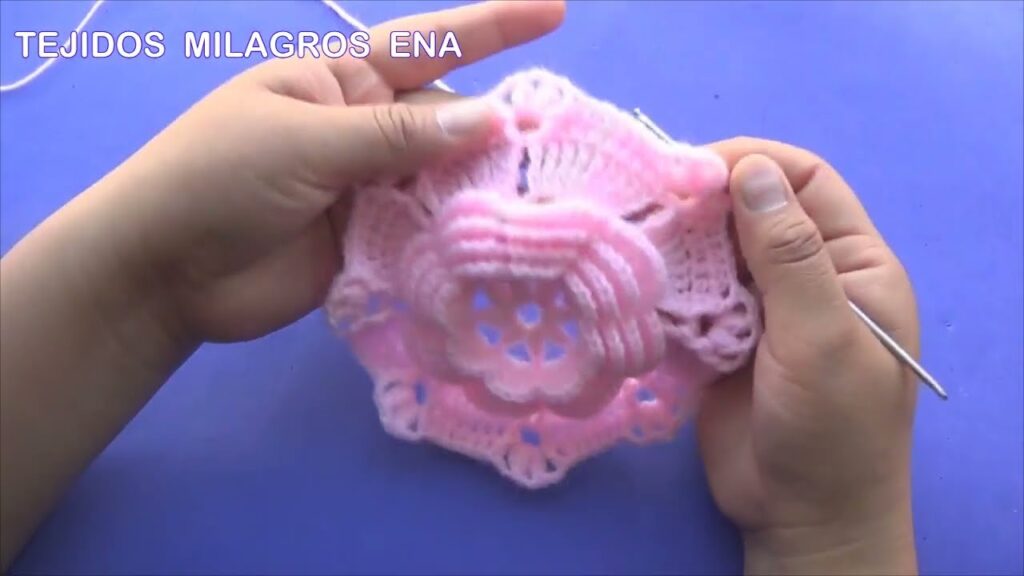
🔹 Foundation
- Make a Magic Ring, or ch 4 and join with sl st to form a ring.
- Round 1 (Center base):
- Ch 2 (counts as first HbHDC here and throughout),
- Work 11 HbHDC into the ring.
- Join with a sl st to top of first stitch. (12 stitches)
🔹 Round 2: Expanding with Herringbone
- Ch 2,
- HbHDC in same stitch, 2 HbHDC in each stitch around.
- Join with sl st. (24 stitches)
Note: The HbHDC stitch differs slightly from a regular HDC. Here’s a quick refresher:
Herringbone Half Double Crochet (HbHDC):
Yarn over, insert hook into stitch, yarn over and pull through (3 loops on hook). Pull first loop through the second loop (like a slip stitch), then yarn over and pull through the remaining 2 loops.

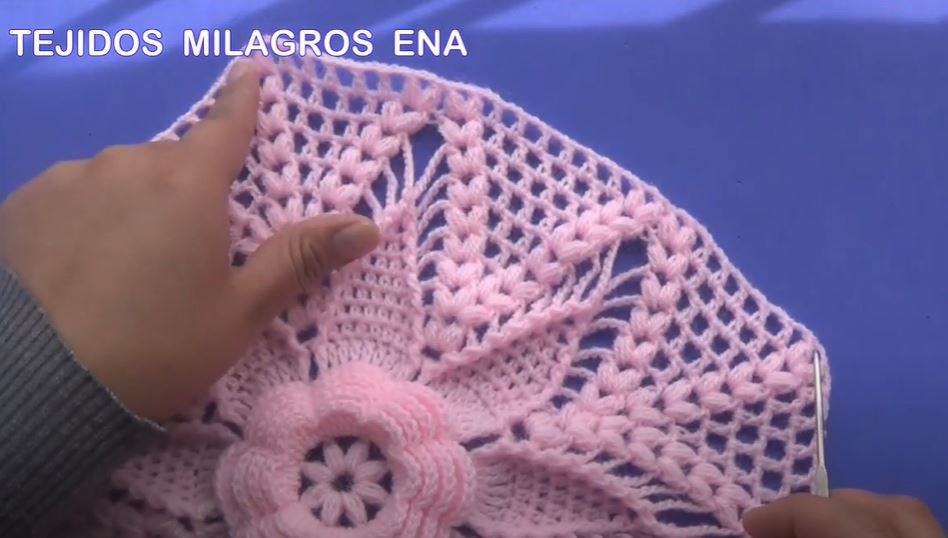
🔹 Round 3: Leaf Stitch Corners Begin
To begin transitioning to a square shape, you’ll now create leaf stitch motifs at 4 points to form corners.
- Ch 3 (counts as dc),
- (Dc, ch 1, dc) in the same stitch (corner point),
- Dc in next 5 stitches,
- (Dc, ch 1, dc) in next stitch (next corner),
- Repeat until you have 4 corners formed,
- Join with sl st.
At this stage, your work begins to resemble a square.
🔹 Round 4: Leaf Stitch Detailing
In this round, we’ll insert leaf stitches into the ch-1 corner spaces.
- Ch 3,
- Dc in each stitch across to corner,
- In ch-1 space:
- (Leaf stitch pattern):
- Ch 2,
- Dc, ch 3, sl st in first ch (picot),
- Dc again, ch 2.
- (Leaf stitch pattern):
- Continue around the square, working dc across sides and a full leaf stitch motif in each corner.
🔹 Round 5: Herringbone Border Round
- Ch 2,
- HbHDC in each dc and in each chain space around the square.
- In each leaf stitch corner, work (HbHDC, ch 1, HbHDC) to maintain corner shaping.
🔹 Round 6–8: Alternating Texture
Repeat the previous two rounds, alternating between:
- A round of leaf stitch detailing (dc rows with leaf corners),
- A round of HbHDC for texture and stability.
You can adjust the number of rounds depending on how large you want each square to be.
📏 Blocking the Square
After finishing your square, it’s crucial to block it to ensure uniformity when assembling.
- Dampen the square (lightly mist or use steam blocking),
- Pin to a blocking board or foam mat, shaping to a perfect square,
- Let dry completely.
🧵 Joining Squares for a Quilt or Bedspread
Once you’ve made enough squares (each about 6–8 inches, depending on yarn and hook), join them using one of these techniques:
- Whip stitch (sewing with yarn and a needle),
- Slip stitch join (crocheting them together edge-to-edge),
- Join-as-you-go: A method where you crochet squares together on the final round.
Tip: Use HbHDC or a dc-based border around each square before joining for consistency.
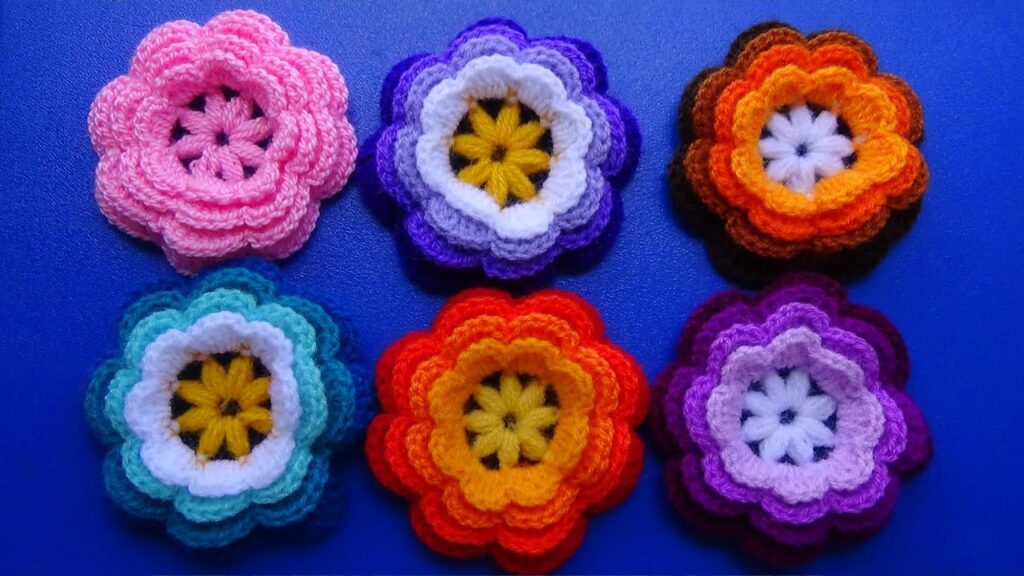
🖼️ Design Ideas for Bedspreads
- Color Play: Use gradient shades for ombre effects.
- Texture Blocks: Alternate between full herringbone squares and those with heavy leaf detailing.
- Framing: Add a wide herringbone border around the entire quilt.
✅ Final Touch: Bordering the Entire Quilt
Once assembled, add a border around your bedspread or quilt:
- 2 rounds of HbHDC
- 1 round of leaf stitch clusters
- 1 final round of sc to clean up the edges
🧶 Tips for Success
- Keep your tension even—this helps when assembling.
- Block every square before joining.
- Mix colors but stay within a palette for a harmonious look.
- Use natural fibers (cotton/wool) for warmth and breathability.
✨ Conclusion
Combining the herringbone and leaf stitches in crochet squares is a brilliant way to merge structure with artistry. The sturdy yet textured herringbone stitch lays a foundation of form, while the flowing leaf stitch brings organic beauty and detail. Whether you’re crafting a small lap quilt or an heirloom-sized bedspread, these modular motifs are endlessly customizable and incredibly satisfying to create.
Start with one square today, and before you know it, you’ll have a masterpiece worthy of display or gifting. Happy crocheting!
Video tutorial:


