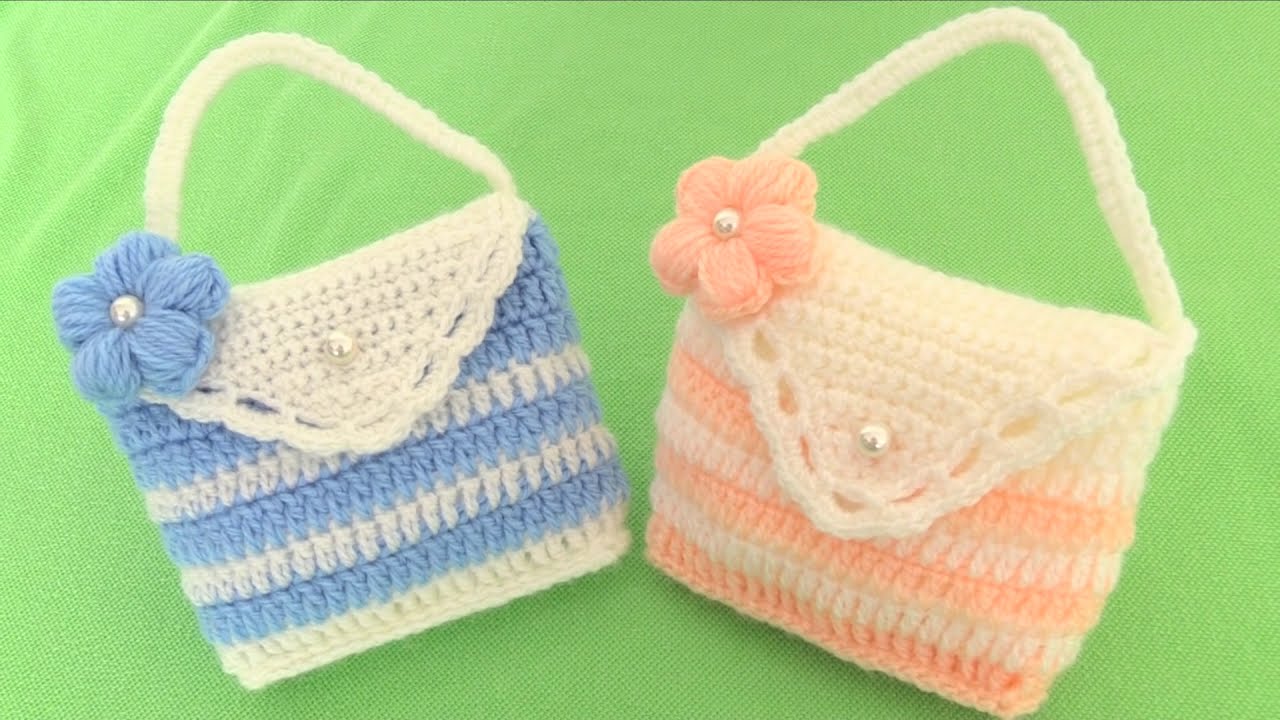
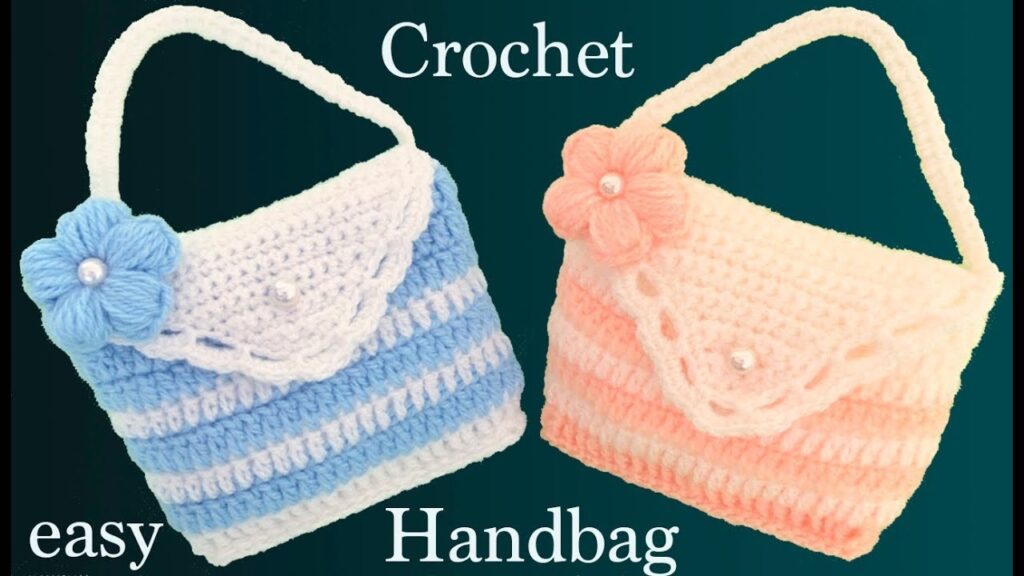
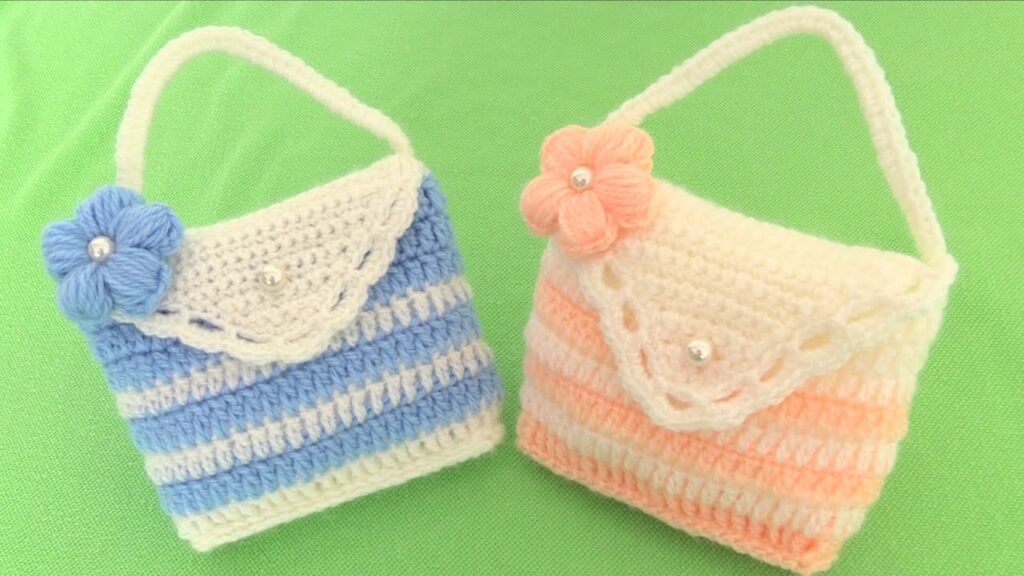
Crocheting has taken on a modern twist with the popularity of handmade accessories. One charming and eye-catching project is the 3D flower purse — a beautiful combination of texture, form, and function. Whether you’re looking to make a unique gift or add a whimsical accessory to your wardrobe, a 3D flower purse is a fun and satisfying project.
This guide will walk you through the entire process of crocheting a 3D flower purse, including materials, pattern basics, step-by-step instructions, and creative ideas for customization.
🧶 Materials Needed
Before getting started, gather the following supplies:
Yarn
- Worsted weight (Medium/4) cotton or acrylic yarn for the purse body.
- Lighter weight yarn (DK or Sport) in different colors for the flower petals.
- Choose complementary or bold contrasting colors depending on your style.
Hook
- 3.5 mm to 4.5 mm crochet hook, depending on your yarn.
- Use a smaller hook if you want a tighter and more structured bag.
Other Tools
- Yarn needle (for weaving in ends)
- Scissors
- Stitch markers (optional)
- Zipper, button, or magnetic clasp (optional closure)
- Lining fabric and sewing needle/thread (optional but recommended for durability)
- Purse strap or crochet your own strap
🌸 Step-by-Step Instructions
Step 1: Create the 3D Flower Motif
We’ll start with the signature feature — the 3D flower. The flower can either be attached to the front of a flat purse or integrated into the body of a round purse. This example will make a separate flower and attach it.
🌼 Basic 3D Flower Pattern (Layered Petals)
Round 1:
- Start with a magic ring.
- Ch 1, make 6 sc into the ring. Pull tight and join with sl st to the first sc.
Round 2 (Base for Petals):
- Ch 2, sl st in next st — repeat around (6 ch-2 loops).
Round 3 (Petal Layer 1):
- In each ch-2 loop: (sc, hdc, dc, hdc, sc). Repeat for all 6 loops. You now have 6 petals.
Round 4 (Back Petal Base):
- Working behind the petals, sl st around the base of each petal. Ch 3, sl st between petals — repeat around (6 ch-3 loops).
Round 5 (Petal Layer 2):
- In each ch-3 loop: (sc, hdc, 2 dc, hdc, sc) — slightly larger than first row.
You can repeat this layering method for more petals and even change colors with each round for a more realistic 3D flower.
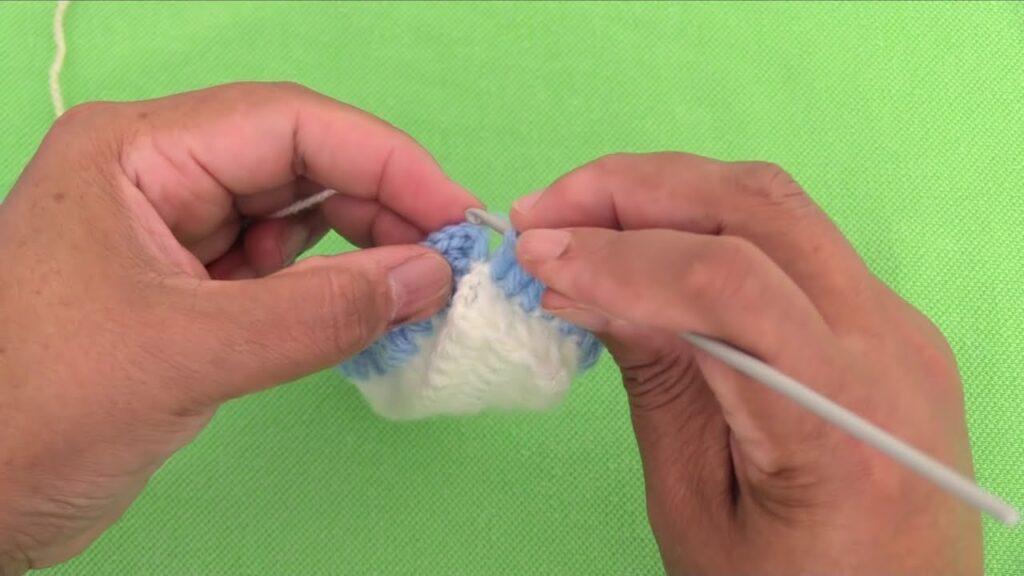
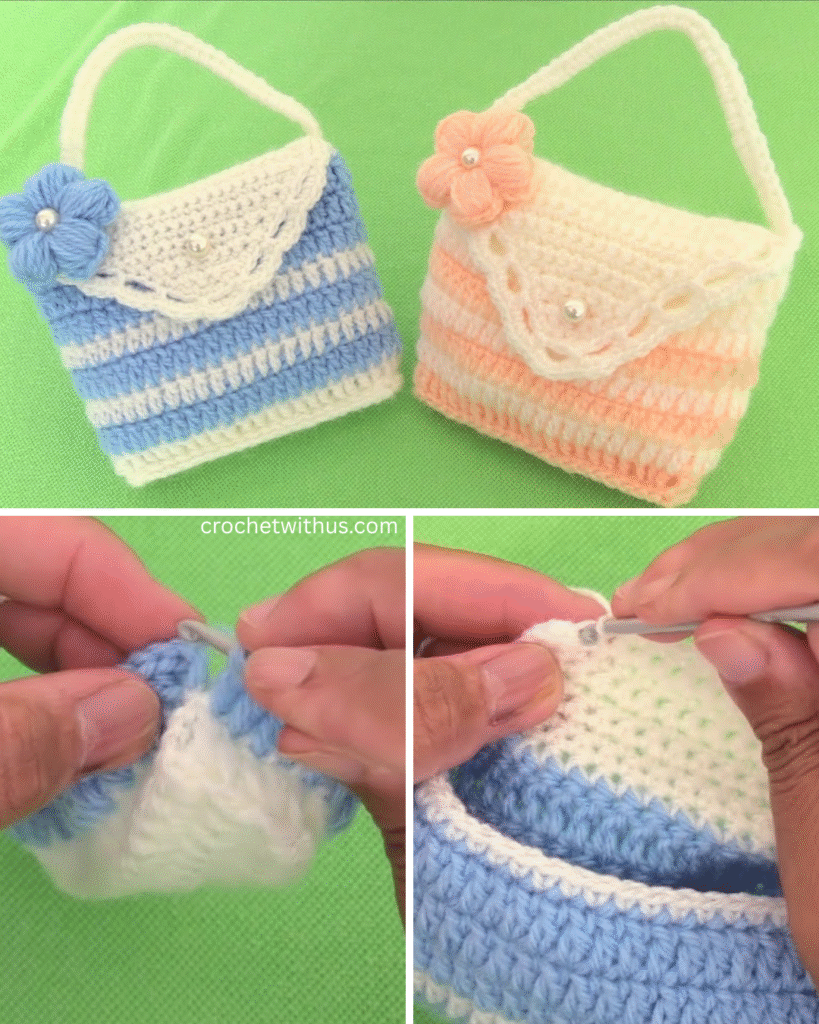
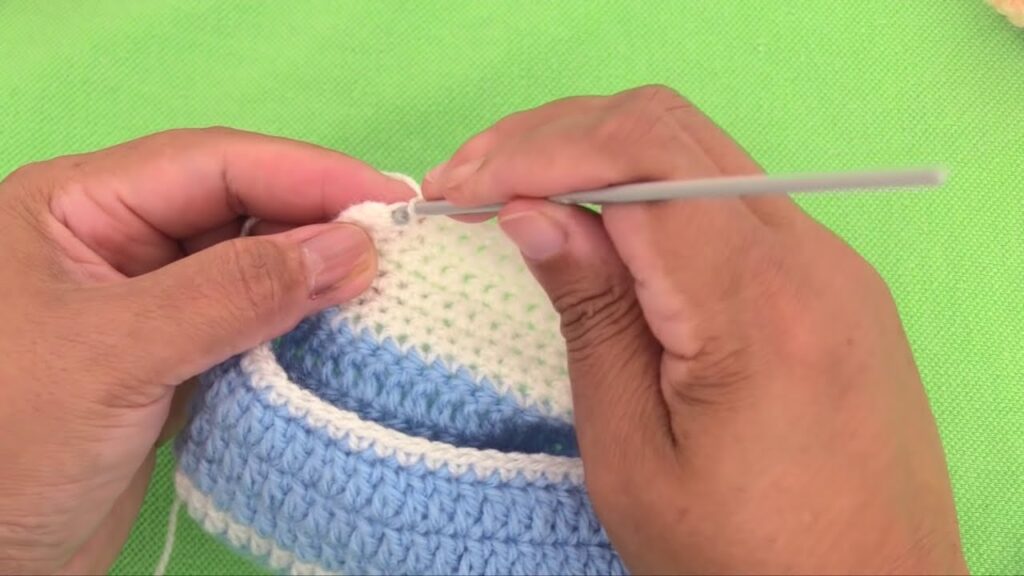
Step 2: Crochet the Purse Body
There are two main purse styles you can choose for this design:
Option A: Flat Rectangle Purse (Envelope Style)
Front and Back Panels:
- Ch 30 (or desired width).
- Work rows of sc or hdc until you reach the desired height (around 7–8 inches).
- Make 2 identical panels.
Seaming:
- Place the panels together, wrong sides facing in.
- Use sc or sl st to seam the sides and bottom.
Option B: Round Base Purse (Circular Bag)
Base:
- Start with a magic ring.
- R1: Ch 2, 12 dc in ring.
- R2: 2 dc in each st (24)
- R3: 1 dc in next st, 2 dc in next — repeat (36)
- Continue increasing until you reach about 6–8 inches in diameter.
Body:
- Work dc rounds with no increases until the desired height (about 5–6 inches).
Step 3: Attach the Flower to the Purse
- Position the flower on the front panel of the purse.
- Use a yarn needle and matching thread to sew the flower to the bag securely, especially around the center and first round of petals.
- Optionally, add leaves or vines around it using green yarn.
Step 4: Add a Strap
You can buy a strap or crochet your own. Here’s how to make a simple one:
Crochet Strap (Flat or Cord Style):
- Flat Strap: Ch 7, work sc rows until the desired length (usually 30–40 inches).
- Cord Strap: Ch the desired length and sl st back down the chain.
Sew or sl st the ends to the top edges of the purse.
Step 5: Add a Closure (Optional)
To keep your items secure, consider adding a:
- Zipper: Sew it along the top edge using a sewing needle and thread.
- Magnetic snap: Easy to install, available at craft stores.
- Button and loop: Crochet a small loop and sew a button on the opposite side.

Step 6: (Optional) Line the Purse
For more durability and a polished look:
- Cut a piece of fabric slightly larger than your purse shape.
- Fold and sew the fabric to fit inside the bag.
- Hand sew the lining to the inside top edge using small, neat stitches.
🎨 Customization Ideas
- Colors: Make rainbow petals, pastel tones, or classic white-and-green combinations.
- Beading: Add beads to the flower center or strap.
- Embroidery: Decorate the body of the purse with simple chain stitch vines or leaves.
- Multiple Flowers: Cluster several smaller flowers together for a floral bouquet effect.
- Seasonal Themes: Use autumnal tones or spring pastels depending on the time of year.
🧺 Care and Maintenance
- If unlined, hand wash gently in cold water and air dry.
- For lined purses, spot-clean only.
- Store flat or hanging to preserve the shape.
🧵 Conclusion
Crocheting a 3D flower purse is a rewarding project that allows you to combine structure, creativity, and detail. It’s suitable for confident beginners looking to branch into textured, decorative work — and the final product is both functional and fabulous.
With endless possibilities for customization, each flower purse becomes a unique expression of your personal style. Whether you carry it as a statement piece or gift it to someone special, this purse is sure to turn heads and spark conversations.
Video tutorial:


