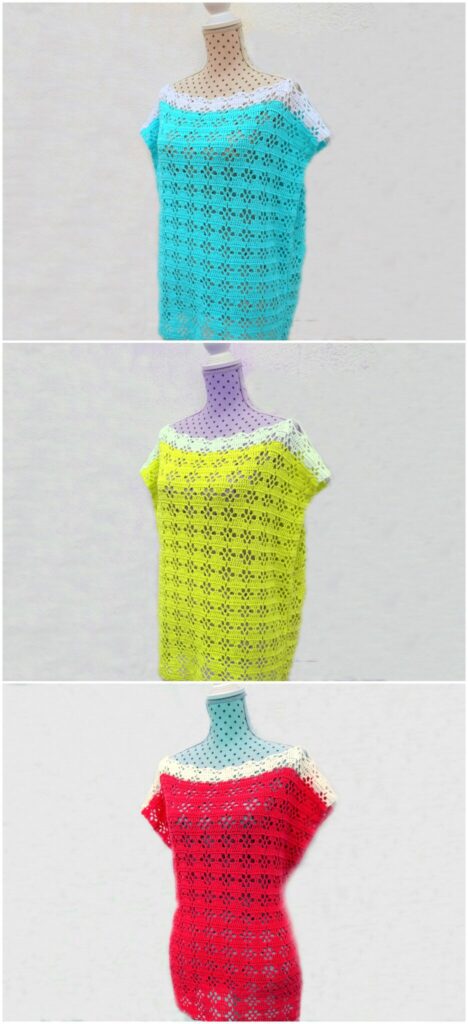
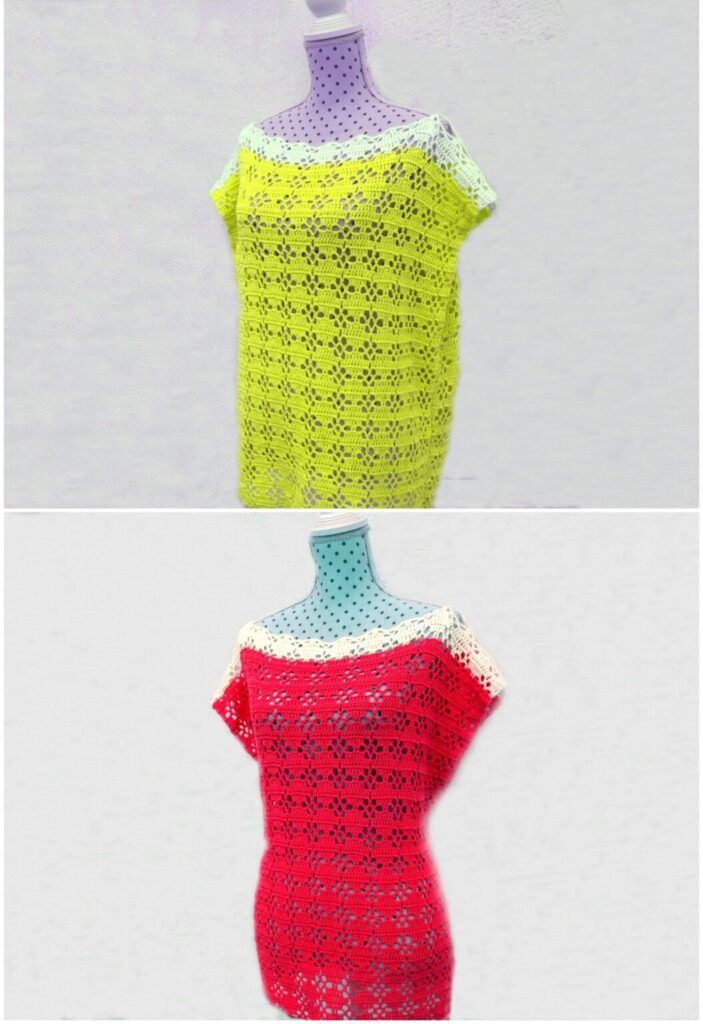
A crochet tunic with geometric stitch is a stylish and modern addition to any wardrobe. The combination of crochet and geometric patterns creates a beautiful, visually striking garment that can be dressed up or down depending on the occasion. This tunic works great in warmer weather as a beach cover-up or a casual everyday piece. Whether you’re a seasoned crocheter or a beginner looking to take on a fun challenge, this tunic is a perfect project to showcase your skills.

🧶 Materials Needed
- Light or medium weight yarn (cotton, linen, or a breathable blend works best)
- Crochet hook (recommended size 4.0 mm to 5.0 mm depending on yarn weight)
- Yarn needle
- Scissors
- Measuring tape (optional, for size adjustments)
📘 Abbreviations (US Terms)
- CH – Chain
- SC – Single Crochet
- DC – Double Crochet
- HDC – Half Double Crochet
- SL ST – Slip Stitch
- ST – Stitch
- SP – Space
- FPTC – Front Post Treble Crochet
- BPTC – Back Post Treble Crochet
🌸 Basic Pattern for Crochet Tunic with Geometric Stitch
Step 1: Start with the Foundation Chain
- CH a length that fits around your bust with a comfortable fit, plus 3 additional chains for turning. (e.g., for a medium-sized tunic, CH 120).
- Join with a SL ST to form a ring, being careful not to twist the chain.
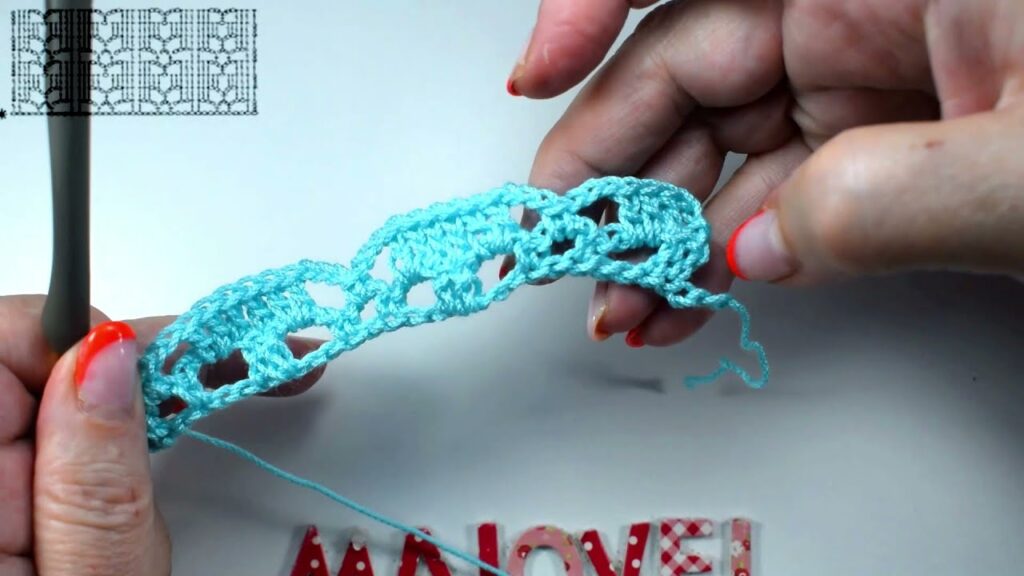
Step 2: Creating the Geometric Stitch
For this tunic, the geometric stitch pattern involves alternating between front and back post treble crochet (FPTC and BPTC), which creates a textured look. You can adjust the size of the geometric pattern by changing the number of stitches between each post stitch.
- Row 1 (Base Row):
- CH 3 (counts as first DC).
- Work DC in each stitch around.
- Join with SL ST to the top of the beginning CH 3.
- Row 2 (Geometric Stitch Start):
- CH 3 (counts as first DC), DC in next 3 stitches.
- FPTC around the next stitch, BPTC around the following stitch, repeat from * around.
- DC in last 3 stitches.
- Join with SL ST to the top of the CH 3.
- Row 3 (Continue the Pattern):
- CH 3 (counts as first DC), DC in next 3 stitches.
- BPTC around the next FPTC stitch from the previous row, FPTC around the next BPTC stitch, repeat from * around.
- DC in last 3 stitches.
- Join with SL ST to the top of the CH 3.
- Repeat Row 2 and Row 3:
- Continue alternating between Row 2 and Row 3, building the geometric pattern as you go, until the piece reaches your desired tunic length.
Step 3: Forming the Armholes
To create armholes for your tunic, you’ll work in rows instead of rounds.
- After reaching the desired tunic length, split your piece into two sections (for the front and back) by leaving a gap for the armholes (usually around 6-8 inches wide depending on size).
- Work back and forth in rows for each section (back and front), repeating the geometric stitch pattern until you reach the desired height of your tunic (typically just below the bust or waist).
Step 4: Shaping the Neckline
Once the tunic reaches your desired length for the body, you can shape the neckline.
- CH a few stitches to make a V-neck or round neckline.
- Skip stitches accordingly to create the desired neckline shape.
- Continue working in rows for the front section, while keeping the back section as a full piece.
Step 5: Joining the Front and Back
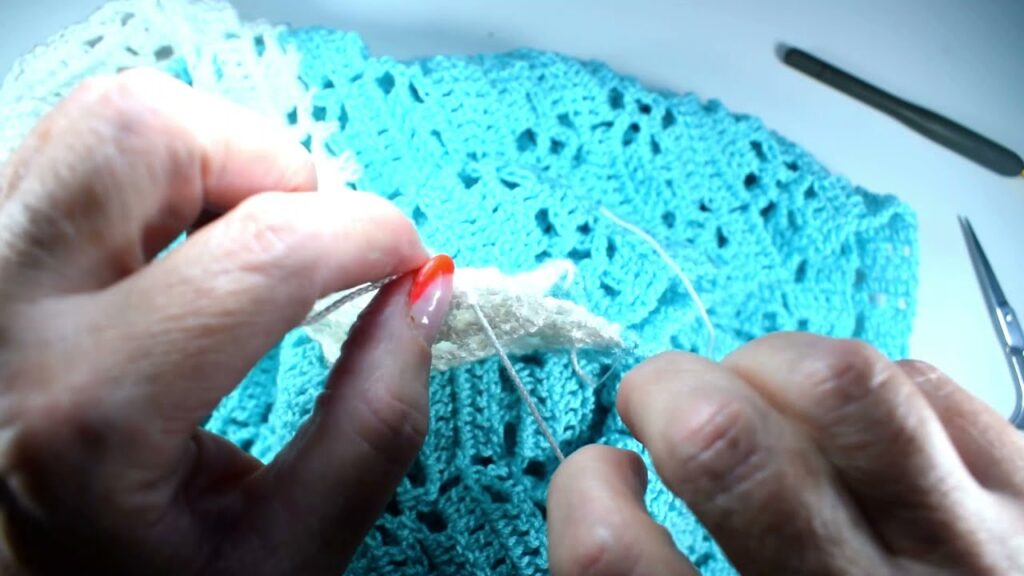
After finishing both front and back pieces, join them at the sides using a slip stitch or whip stitch. Make sure the armholes are aligned, and stitch them together to form the body of the tunic.
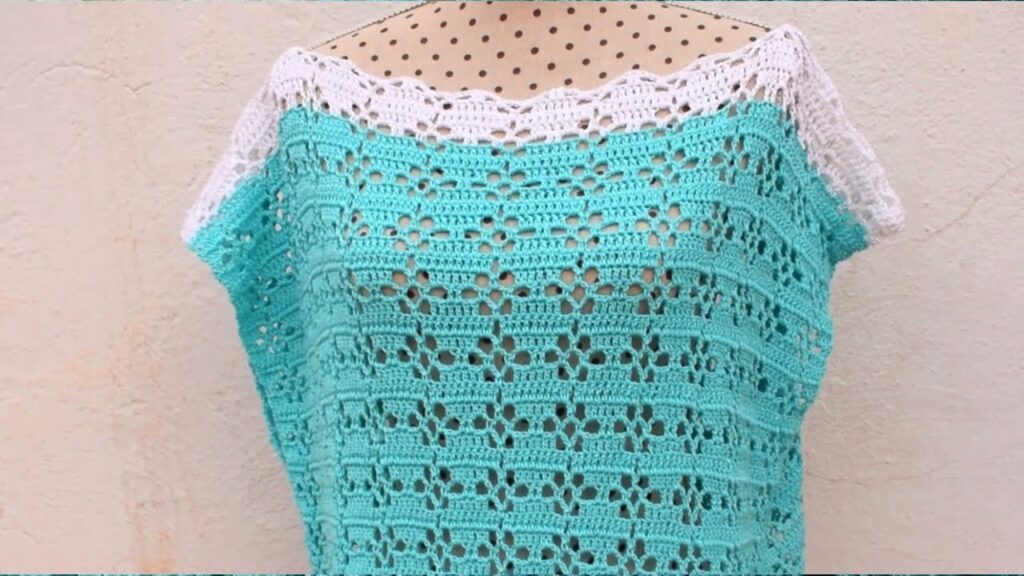
Step 6: Edging
For a clean and polished finish, add a simple edging around the neckline and armholes.
- Use SC or HDC around the edges for a smooth look.
- You can also add a decorative border like a shell stitch or picot to give the tunic an elegant touch.
🎨 Customization Ideas
- Color Blocking: Use multiple colors to create bold geometric patterns. Alternate between colors in the geometric rows for a more vibrant design.
- Add Sleeves: If you prefer a sleeved tunic, you can crochet short or long sleeves by picking up stitches around the armholes and working in rounds or rows.
- Fringe Detail: Add a fun touch to the bottom edge of the tunic by crocheting fringe or tassels for an extra boho vibe.
- Adjustable Length: You can make the tunic longer or shorter based on your preferences. Adjust the number of rows accordingly.
🌟 Tips for Success
- Choose the Right Yarn: For a soft and breathable tunic, cotton, bamboo, or linen yarns work best.
- Use a Lighter Hook Size for Drape: If you want a loose and flowy tunic, opt for a larger hook size. For a more structured look, use a tighter gauge with a smaller hook.
- Fit Adjustments: Make sure to try the tunic on as you go to ensure it fits comfortably. Adjust the width or length as needed.
✨ Conclusion
A crochet tunic with geometric stitch is a fantastic project that combines the beauty of geometric patterns with the elegance of crochet. This tunic will become a go-to piece in your wardrobe, adding texture and style to any outfit. Whether worn casually with jeans or over a swimsuit as a cover-up, this tunic is versatile and stylish.
With a little patience and creativity, you’ll have a beautiful handmade tunic that you can wear proudly. Get ready to showcase your crochet skills and impress everyone with your gorgeous, geometric creation!
Video tutorial:
Happy Crocheting! 🧶✨


