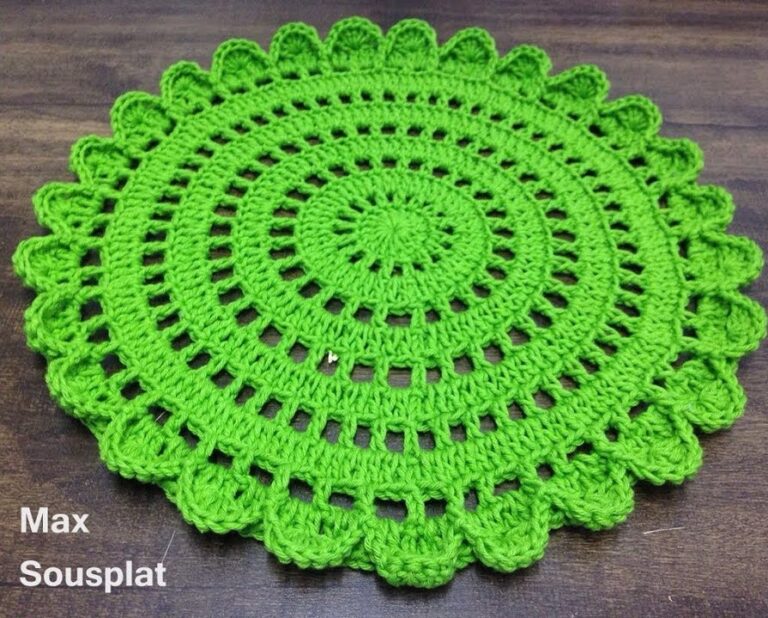
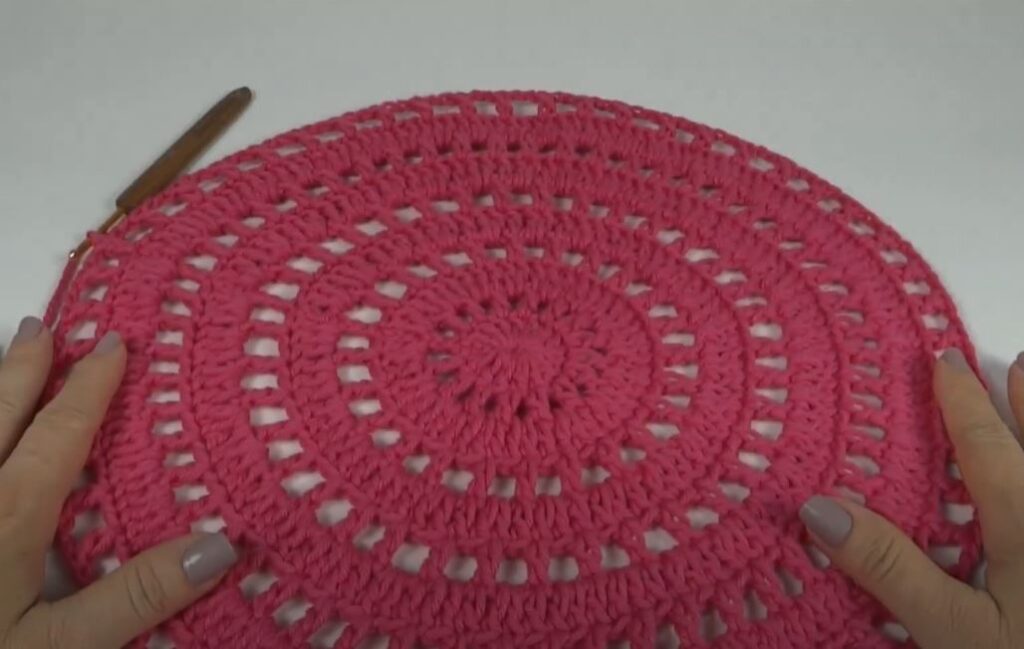
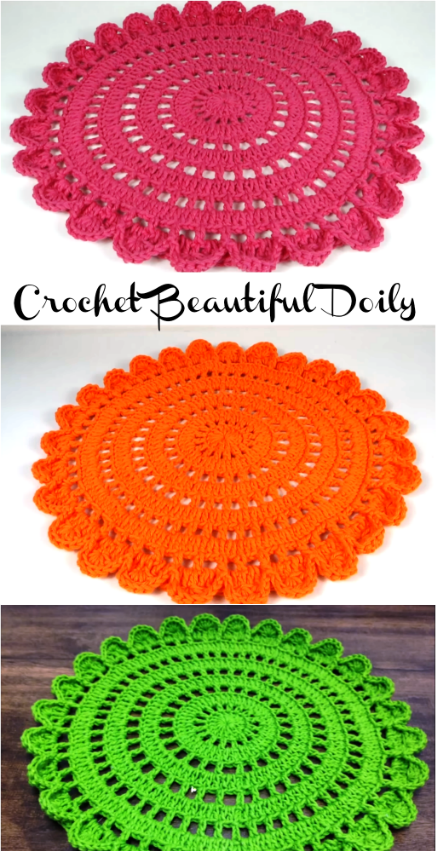
Crochet doilies have been a beloved home decor item for generations. These delicate, lacy pieces add a touch of vintage charm to any table, and making them is a rewarding project that allows you to showcase your crochet skills. Whether you’re making a doily for your coffee table, as a gift, or just for fun, this step-by-step tutorial will guide you through the process of creating a beautiful crochet doily.
🧶 Materials Needed
- Cotton yarn (size 10 or thread yarn, or any yarn of your choice suitable for doilies)
- Crochet hook (typically 1.75mm to 2.5mm depending on yarn weight)
- Yarn needle
- Scissors
- Stitch marker (optional, helps keep track of rounds)
📘 Abbreviations (US Terms)
- CH – Chain
- SC – Single Crochet
- DC – Double Crochet
- TR – Treble Crochet
- SL ST – Slip Stitch
- ST – Stitch
- SP – Space
- FO – Fasten Off
🌼 Step-by-Step Instructions for a Beautiful Crochet Doily
Step 1: Begin with the Center Ring
- Start by making a magic ring (or you can CH 4 and join with a SL ST to form a ring).
- Round 1: CH 3 (this counts as your first DC), then work 11 more DC into the ring (12 DC in total).
- Join with a SL ST into the top of the first CH 3 to close the round.
- Pull the magic ring tight to close the hole in the center.
Step 2: Work the First Round of Shells
- Round 2: CH 3 (counts as 1 DC), then work 2 more DC in the same stitch to form the first shell.
- Skip 1 DC from Round 1, and make 3 DC in the next DC.
- Repeat this pattern (skip 1, 3 DC) around the entire round.
- Join with a SL ST into the top of the first CH 3 to close the round (you should have 12 shells in total).
Step 3: Work the Petal Spaces
- Round 3: CH 3 (counts as 1 DC), then make 2 DC, CH 2, 3 DC all in the same space (creating a shell with a space in between).
- Skip to the next space between shells from the previous round and repeat the pattern (3 DC, CH 2, 3 DC).
- Continue around the entire round.
- Join with a SL ST into the top of the first CH 3 to close the round. Now, you’ll have 12 petals with spaces between them.
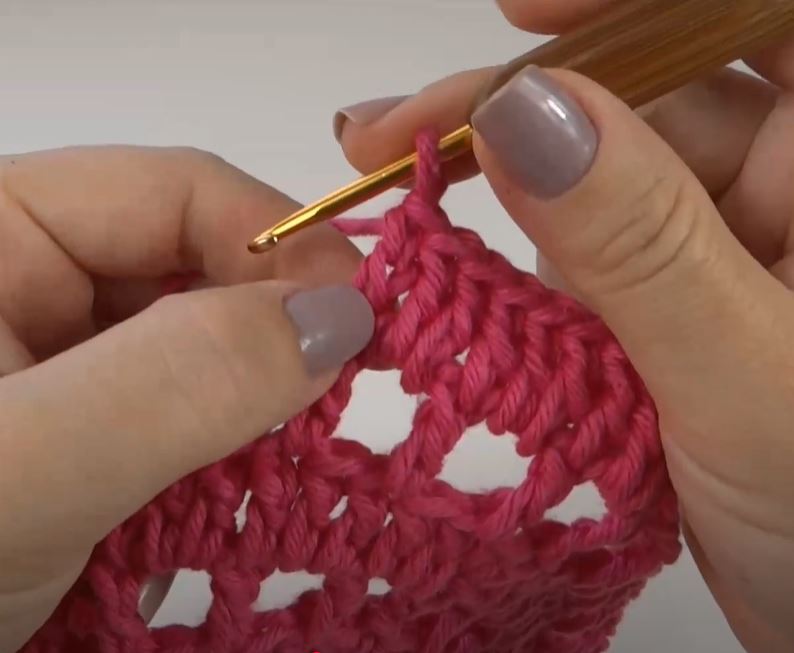
Step 4: Create the Lacework
- Round 4: For this round, make 1 SC into the next space, then 3 DC into the next space.
- Skip 1 space, make 3 DC into the next space, then 1 SC into the next space.
- Repeat this pattern around the entire round.
- Join with a SL ST into the first SC to close the round.
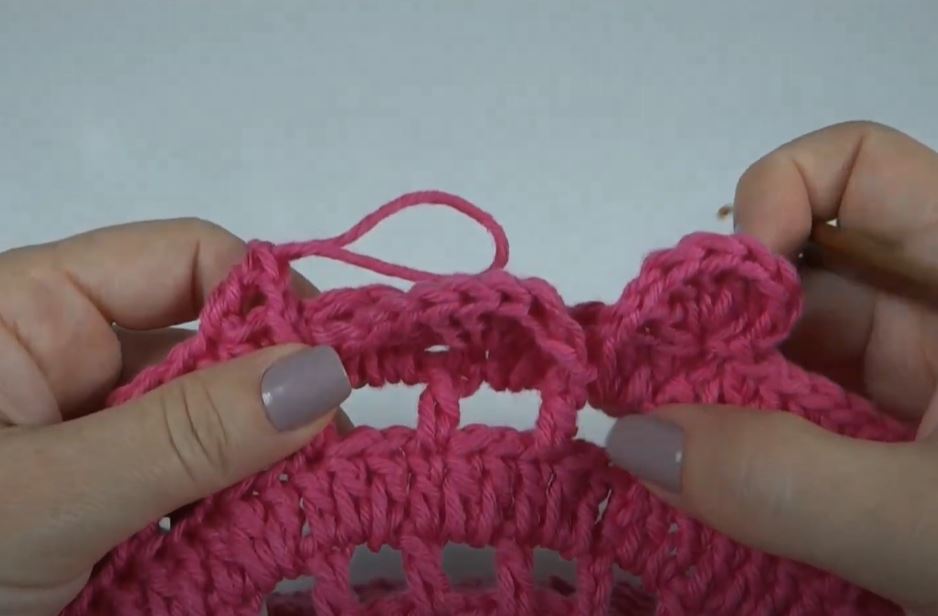
Step 5: Finish with a Lacy Border
- Round 5: CH 1 (this is the base for the SC stitches), then make 3 DC into the next stitch.
- Make 1 SC into the next stitch, and then repeat this for the entire round to form a lacy picot effect.
- For the picots, after making 1 SC, CH 3, and SL ST back into the same stitch to form a loop.
- Finish by joining with a SL ST into the first SC.
🎨 Design Variations and Customization
- Color Combinations: Add multiple colors by changing yarn at the beginning of each round. You can create a multi-colored doily by alternating colors every few rounds.
- Different Shapes: This pattern is versatile. You can turn it into a square or oval shape by altering the number of stitches and shell patterns.
- Size: Increase the number of repeats in the center or edges to make your doily larger. For a smaller doily, you can skip some rounds or reduce the number of shells in each round.
🏠 How to Use Your Crochet Doily
- Home Decor: Place your doily on the coffee table, side tables, or dining table to create an elegant and vintage atmosphere.
- Gifts: A handmade crochet doily makes an excellent gift for housewarmings, weddings, or birthdays.
- Accessories: Add a delicate touch to your dresser or vanity by using the doily as a decorative base for perfume bottles, jewelry trays, or candles.
🌿 Tips for Success
- Even Tension: Keep an even tension throughout the project to ensure a flat and uniform doily.
- Stitch Markers: Use stitch markers to help keep track of where each round starts, especially if you are making a larger doily.
- Blocking: Once your doily is complete, block it by wetting it lightly and pinning it out to the desired shape. This helps open up the lacework and makes the doily lay flat.
✨ Conclusion
Crocheting a beautiful doily is a fun and rewarding project that allows you to explore delicate lacework and fine crochet techniques. With patience and practice, you can create a stunning piece that adds a touch of elegance and handmade charm to your home. This step-by-step tutorial ensures that even beginners can make a beautiful crochet doily, perfect for any occasion.
Video tutorial:
Happy Crocheting! 🧶🌸


