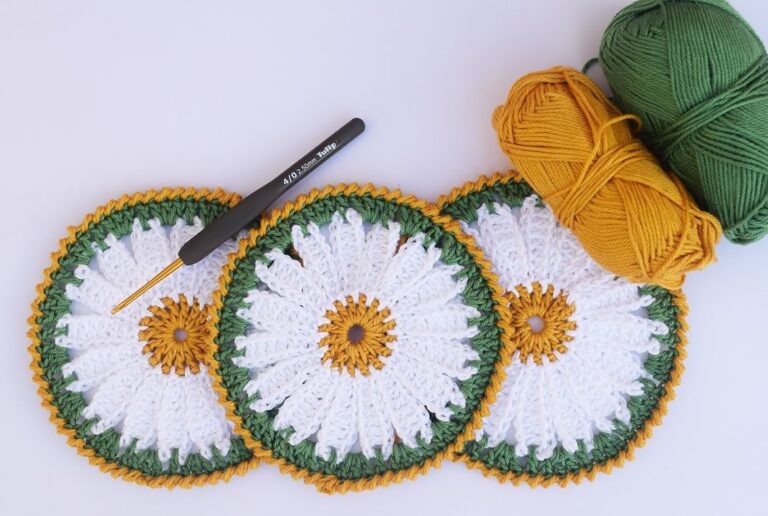
A crochet daisy coaster is a lovely and practical addition to your home decor. Not only do these coasters protect your surfaces from drink rings, but they also bring a fresh, floral touch to your table. Whether you want to create a set of vibrant coasters for your kitchen or make a thoughtful handmade gift, this easy-to-follow crochet daisy pattern is perfect for beginners and seasoned crafters alike.
🧶 Materials Needed
- Cotton yarn (preferably in white for the petals and yellow for the center)
- Crochet hook: 3.5 mm to 4.0 mm (depending on your yarn thickness)
- Yarn needle
- Scissors
- Stitch marker (optional, to help keep track of rounds)
📘 Abbreviations (US Terms)
- CH – Chain
- SC – Single Crochet
- DC – Double Crochet
- SL ST – Slip Stitch
- ST – Stitch
- FO – Fasten Off
🌸 Step-by-Step Instructions for the Daisy Coaster
Step 1: Create the Center of the Daisy
- Start by making a magic ring (or CH 4 and join with a SL ST to form a ring).
- Round 1: CH 3 (this counts as your first DC), then work 11 more DC into the ring. (12 DC in total)
- SL ST into the top of the first CH 3 to close the round.
- Tip: Pull the tail of the magic ring tight to close the hole.
Step 2: Crochet the Petals
- Change to white yarn for the petals.
- Round 2: Start by joining your white yarn into any DC from the previous round with a SL ST.
- CH 2, then make 1 DC in the same stitch (this is the first petal).
- CH 2 and SL ST back into the same DC.
- Repeat the same steps for the next 11 DC around the center, making 12 petals in total.
- Tip: Space the petals evenly, and be sure to end each petal with a SL ST into the same DC to form a nice point.
Step 3: Finish the Daisy Coaster
- Once all the petals are complete, fasten off your white yarn and weave in the ends.
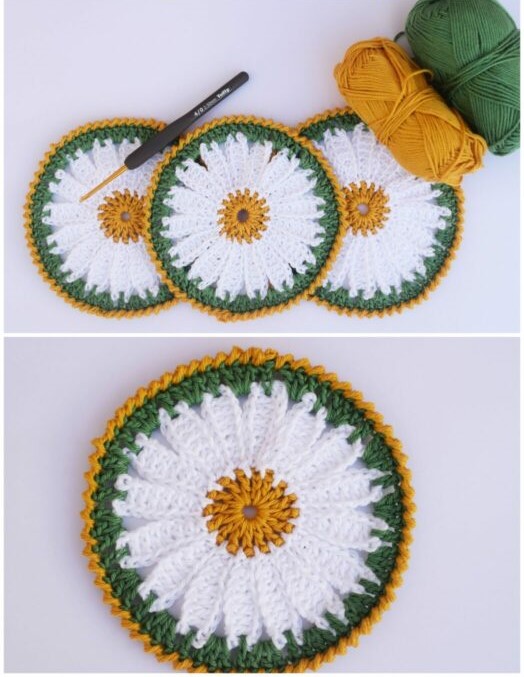
- Optionally, you can add a border around the coaster for a finished look.
- For the border, attach your white yarn in any petal base and work SC around the entire coaster, making sure to work 2 SC in each corner for a rounded effect.
- Fasten off the yarn and weave in the ends securely.
🌼 Design Variations and Customization
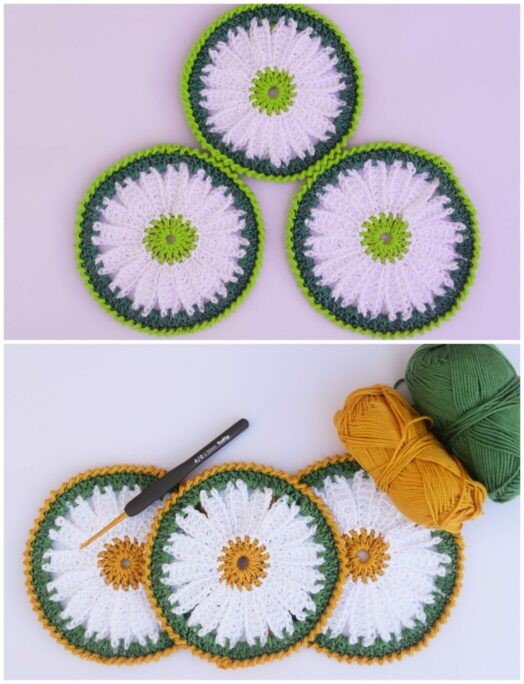
- Add a contrasting border: Use a different color for the border around the petals to make your daisy stand out even more.
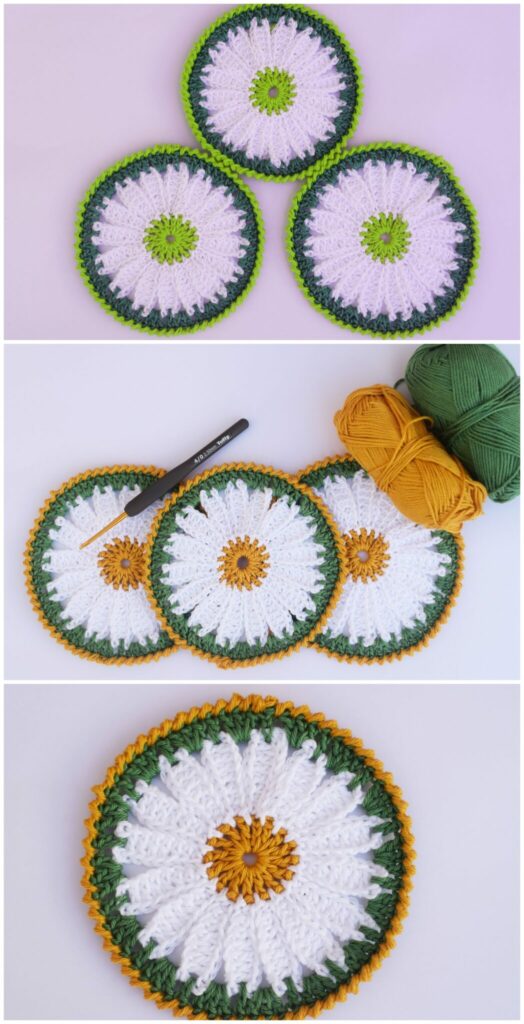
- Multiple Colors: Play around with different petal colors for a multicolored daisy design — think of using pastel shades or even bold, bright colors!
- Smaller or Larger Coasters: Adjust the number of stitches in the center to make smaller or larger daisy coasters as desired.
🎨 Color Ideas
- Classic Daisy: White petals and a yellow center for a traditional look.
- Spring Vibes: Use pastel shades like soft pinks, blues, and yellows for a cheerful, spring-inspired coaster set.
- Bold and Bright: Try contrasting colors for a more modern, vibrant twist—think purple petals with a bright green center.
✨ Tips for Success
- Use cotton yarn for durability and absorbency—perfect for coasters!
- Keep your tension even to ensure your petals are uniform in size.
- Make a set: You can easily make multiple daisy coasters for a matching set—just repeat the pattern.
- Add a fabric backing: To make your coaster more durable, you can sew a piece of felt or fabric to the back of your crochet coaster.
🎁 Perfect Gift Idea
Crochet daisy coasters make a thoughtful gift for friends or family. Pair them with a cute teapot, a set of mugs, or a cozy homemade candle for a charming and practical gift. You could also make a matching coaster set for a housewarming or birthday gift.
✨ Conclusion
Crochet daisy coasters are an easy and fun way to brighten up your home while practicing crochet techniques. With their cute, floral design and simple stitches, you can create a set in no time. Whether you’re new to crochet or an experienced crocheter, these coasters are perfect for adding a touch of handmade charm to any space.
Video tutorial:
Happy Crocheting! 🧶🌸


