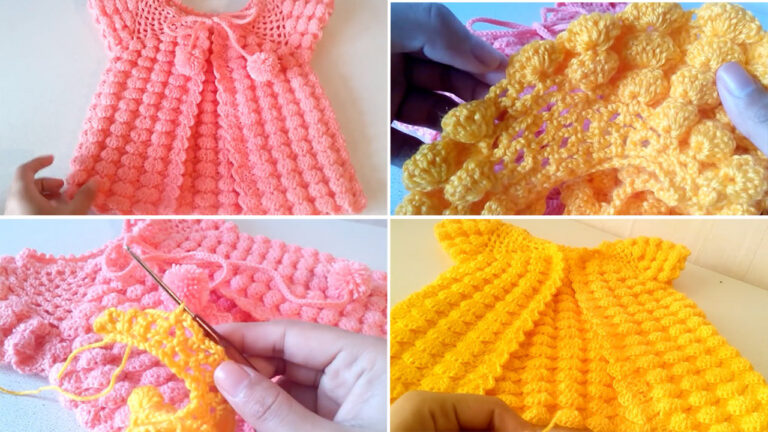
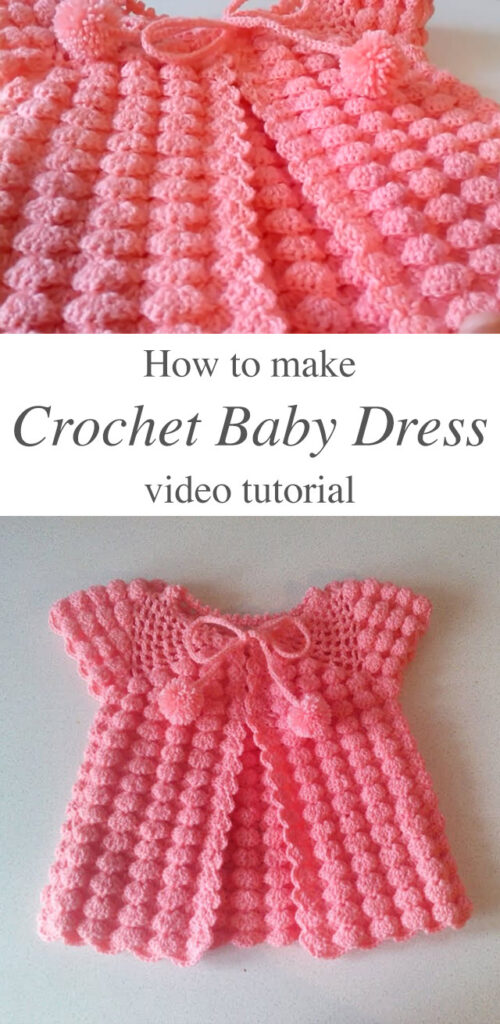
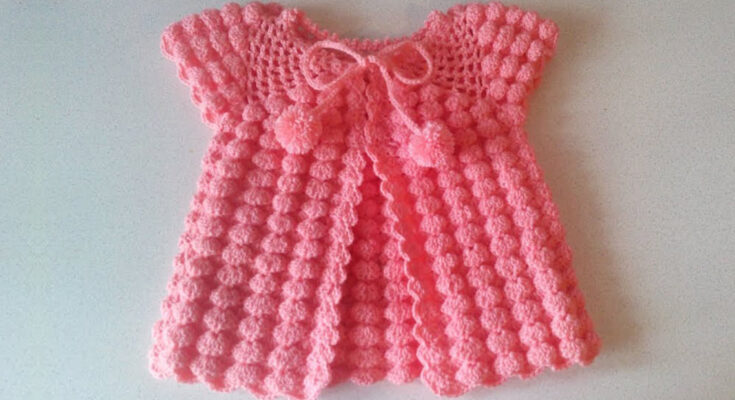
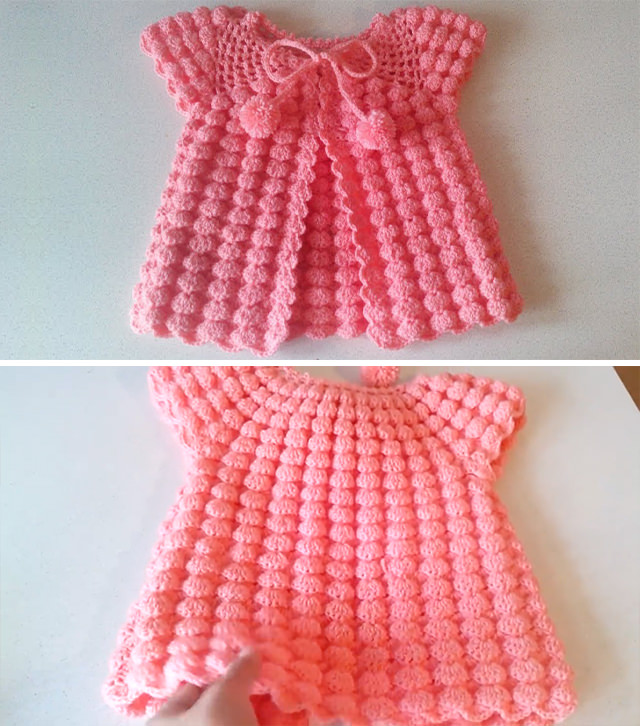
Crocheting for babies is one of the most rewarding experiences—especially when you can create adorable, handmade outfits with love and care. This easy crochet baby dress is a perfect beginner-level project that requires minimal shaping and simple stitches. Whether you’re making it for your own little one or as a heartfelt gift, this dress is both charming and achievable.
🧶 Why Make a Crochet Baby Dress?
- Quick Project: Small size means faster results.
- Beginner Friendly: Uses basic stitches and simple construction.
- Customizable: Add embellishments like bows, buttons, or flowers.
- Comfortable and Soft: You control the yarn choice for maximum coziness.
🪡 Materials Needed
- Soft baby-friendly yarn (cotton or acrylic, DK or light worsted)
- Crochet hook (3.5 mm or size recommended on yarn label)
- Yarn needle
- Stitch markers
- Buttons (optional, for back closure)
- Scissors
🎀 Size
This pattern is for 0–3 months, but you can adjust by increasing rows and rounds for a larger fit.
🧵 Stitches Used
- CH – Chain
- SL ST – Slip Stitch
- SC – Single Crochet
- DC – Double Crochet
- V-STITCH – (DC, CH 1, DC) in the same stitch
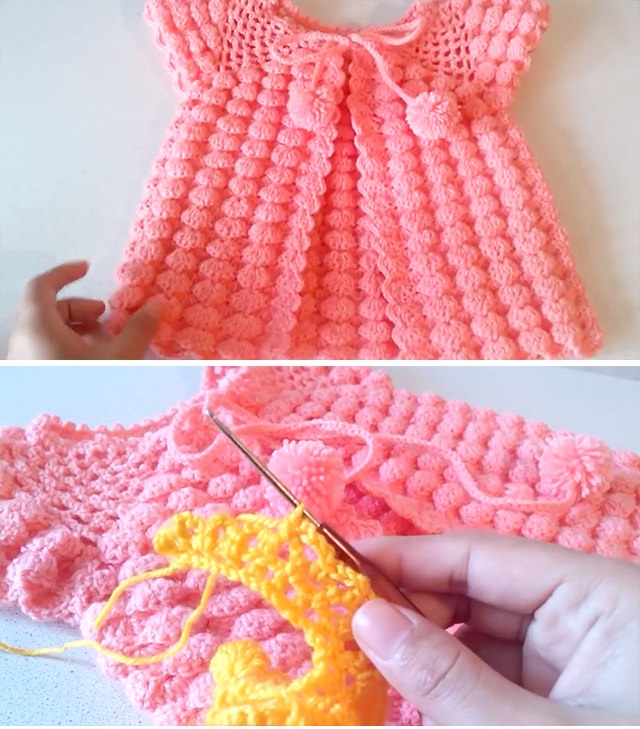
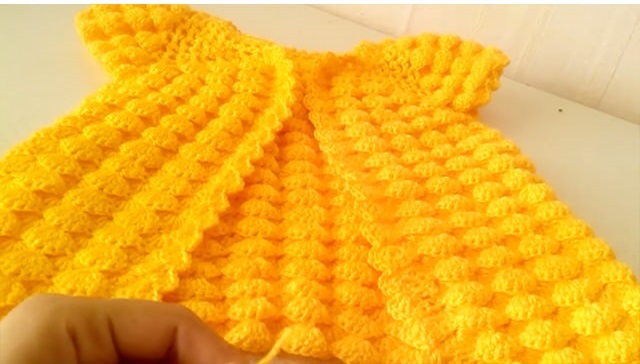
👗 Simple Baby Dress Pattern
1. Yoke (Top Part)
- CH 52 (for newborn size).
- Row 1: DC in 4th CH from hook, DC across. (50 DC)
- Row 2: CH 2, turn. DC in next 6 sts, 2 DC in next – repeat across. (Approx. 57 DC)
- Row 3: CH 2, turn. DC in next 7 sts, 2 DC in next – repeat across.
This creates slight increases and a rounded yoke. Continue for 1–2 more rows if needed for shoulder depth.
2. Armholes & Skirt Separation
- CH 2, turn.
- DC in first 10 sts, CH 8 (skip next 10 stitches – this forms armhole), DC in next 17 sts, CH 8 (skip next 10 stitches), DC in last 10 sts.
You now have a chest/back frame and armholes ready for the skirt.
3. Skirt Body
- CH 2, turn. DC in every DC and in each CH from the armholes.
- Continue working DC rows or V-stitch rows (for a more lacy texture).
- Optional Skirt Row Pattern: (DC, CH 1, DC) in every 3rd stitch for airy texture.
- Keep going until desired length (usually 15–20 rows).
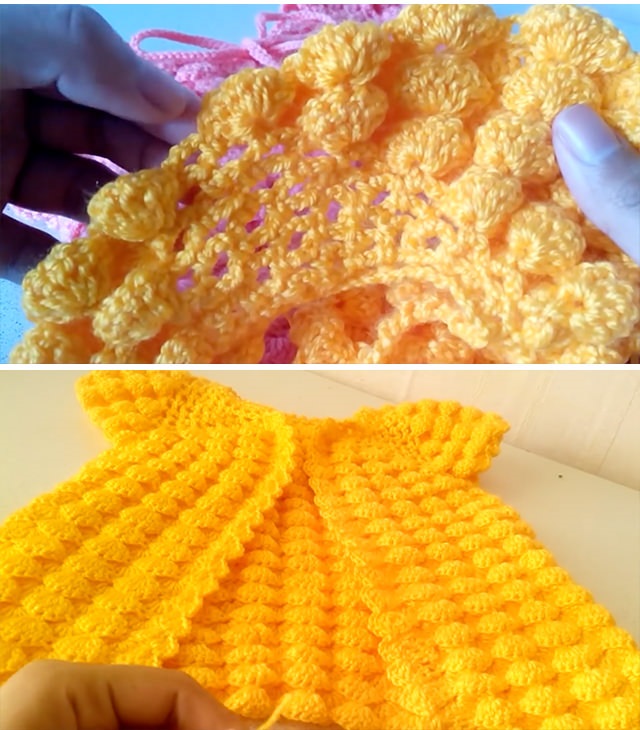
4. Edging & Finishing
- Add a SC or shell stitch edging at the bottom and sleeves.
- Sew buttons on the back and create chain loops for buttonholes, or simply stitch closed if you prefer a pull-over style.
- Weave in all ends.
🎀 Embellishment Ideas
- Add a bow or crocheted flower to the waistline or shoulder.
- Use gradient or variegated yarn for a colorful effect.
- Sew on a small applique or lace trim for a unique touch.
💡 Tips for Beginners
- Use stitch markers to identify armhole placements.
- Measure as you go if you’re adjusting size.
- Stick with pastel yarns for that classic baby look.
- Always choose soft, washable yarn for baby garments.

🍼 Conclusion
Creating an easy crochet baby dress is a fun and fulfilling project, especially for beginners. With just a few basic stitches and simple shaping, you’ll have a delightful handmade piece ready for baby showers, birthdays, or everyday wear. It’s a beautiful way to wrap a little one in warmth and love.
Tutorial and photos of this baby dress by: мир вязания с Кариной. The other parts of the tutorial: Part 1, Part 2, Part 3, Part 4, Part 5, Part 6, Part 7.


