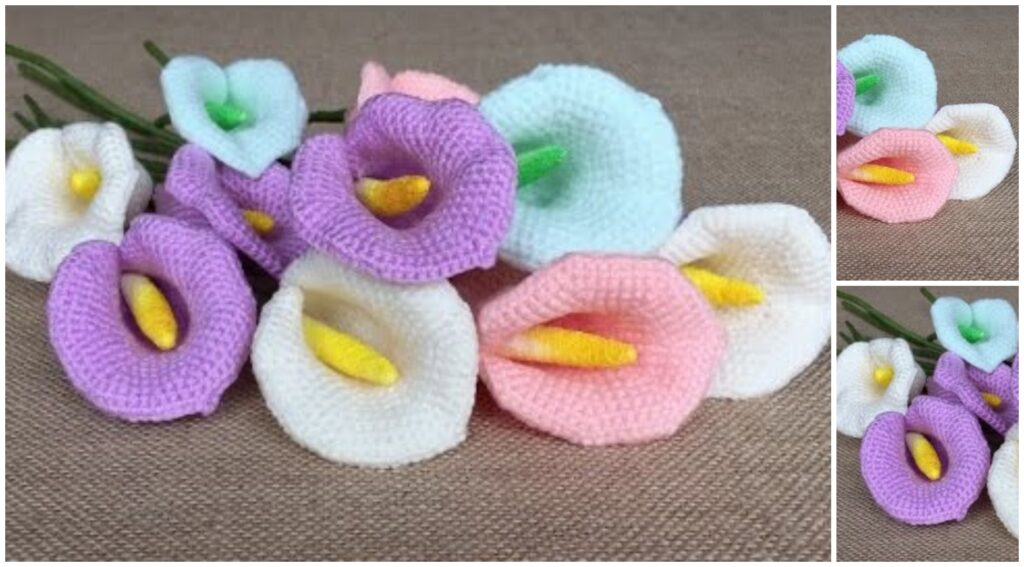
The Calla Lily is one of the most elegant flowers in nature, known for its trumpet-like bloom and symbolic meanings of purity, beauty, and rebirth. Now imagine capturing that grace in yarn! This tutorial will walk you through how to crochet a Calla Lily, perfect for home decor, bouquets, wedding accessories, or a special handmade gift.
🧶 Why Crochet a Calla Lily?
- Unique Shape: The curl of the bloom makes it visually striking.
- Minimal Pieces: One main flower and a simple spadix (the yellow inner part).
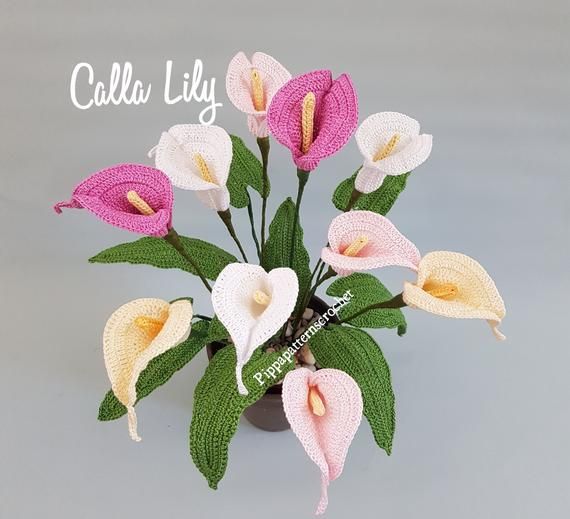
- Perfect for Arrangements: Pair with leaves or multiple lilies for beautiful crochet bouquets.
- Customizable: Use various yarn types for different textures and sizes.
🧵 Materials You’ll Need
- Yarn: Cotton or acrylic (Sport or DK weight recommended)
- White or any flower color of your choice
- Yellow or orange for the spadix
- Green for the stem (optional)
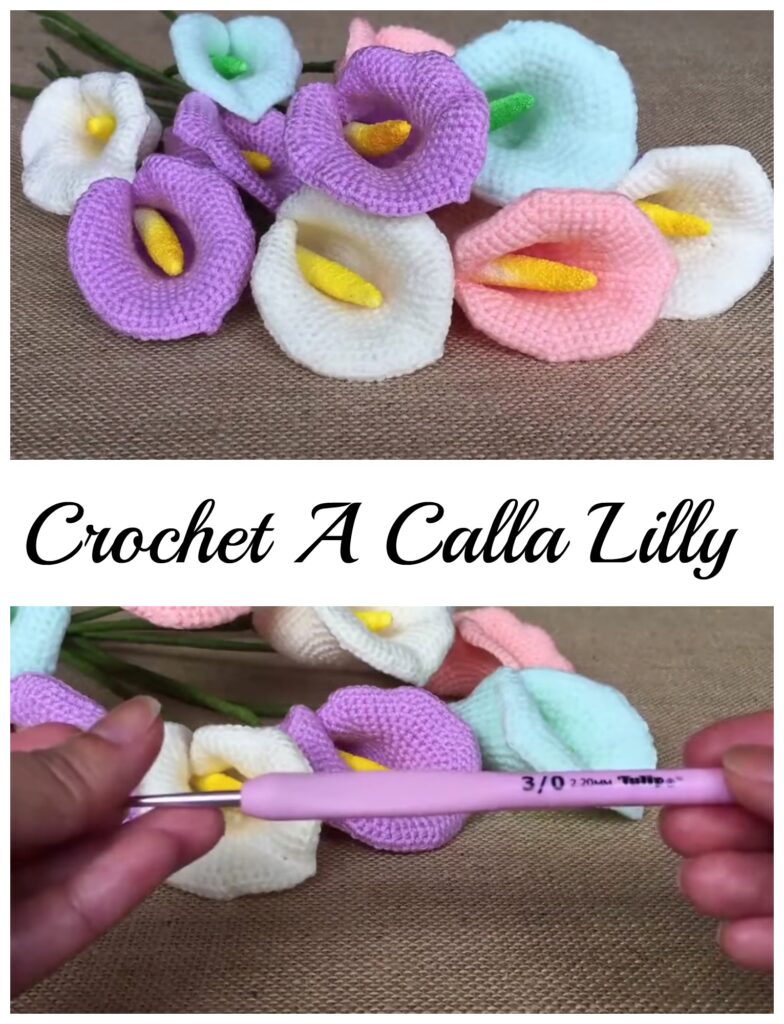
- Crochet hook: Size 2.5 mm – 3.5 mm
- Scissors
- Yarn needle
- Floral wire (optional for stiff stems)
- Stitch marker (optional)
🌼 Calla Lily Crochet Pattern
1. Crochet the Petal (White Bloom)
This is worked as a flat piece that curls naturally into the lily shape.
Pattern:
- Chain 13
- Starting in the second chain from hook:
- SC in next 2 chains
- HDC in next 2
- DC in next 2
- TR (treble crochet) in next 4
- DC in next
- HDC in last stitch
- Now work around the other side of the chain:
- HDC in first stitch
- DC in next
- TR in next 4
- DC in next 2
- HDC in next 2
- SC in last stitch
- Fasten off, leaving a long tail for shaping.
The piece will naturally curl into a calla lily shape. Use the tail to stitch the two edges together at the base, securing the flower shape.
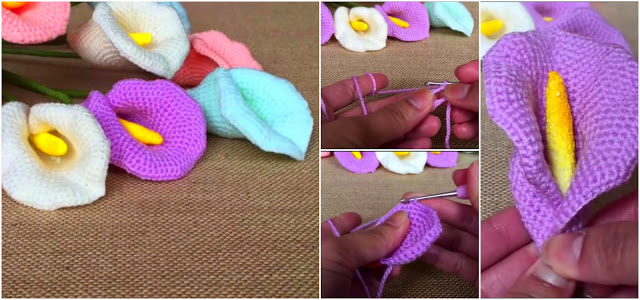
2. Crochet the Spadix (Yellow Inner Tube)
This is the cylinder inside the lily.
Pattern:
- Chain 5
- SC in second chain from hook and in each stitch (4 SC)
- Chain 1, turn. SC in each stitch.
- Repeat until you have 6–8 rows for a small cylinder.
- Roll it slightly and stitch together the side seam.
Sew or glue this into the center of the flower.
3. Add the Stem (Optional)
- You can use floral wire wrapped in green yarn or green pipe cleaners for flexibility.
- Insert into the base of the flower and sew or glue in place.

🍃 Optional: Crochet a Leaf
- Chain 15
- SC in first 3, HDC in next 3, DC in next 5, HDC in next 2, SC in last 2
- Work around to other side and mirror the stitches.
- Slip stitch around the edge for a smooth finish.
Attach to the stem or use as part of your arrangement.
💡 Tips for Success
- Use stiff cotton yarn if you want the flower to hold shape naturally.
- If the petal doesn’t curl enough, use light blocking or hand-shape it and stitch to secure.
- Mix yarn weights for different-sized lilies in a bouquet.
- Add a small dab of hot glue to secure the spadix and stem if needed.

🌸 Creative Ideas
- Crochet Bouquet: Combine with roses, daisies, or tulips.
- Wedding Decor: Use calla lilies in bridal bouquets or corsages.
- Home Display: A vase of crocheted lilies will never wilt!
- Gift Accent: Attach a lily to a gift wrap, card, or handmade bag.
🌼 Conclusion
Crocheting a Calla Lily is not only fun but also a fantastic way to capture nature’s beauty with your own hands. Whether you’re crafting a romantic gift, decorating your home, or experimenting with floral patterns, this project is a charming and satisfying experience.
Ready to let your yarn bloom? Try it today and see just how graceful a crochet flower can be.
Video tutorial:
🧶✨ Happy Hooking!


