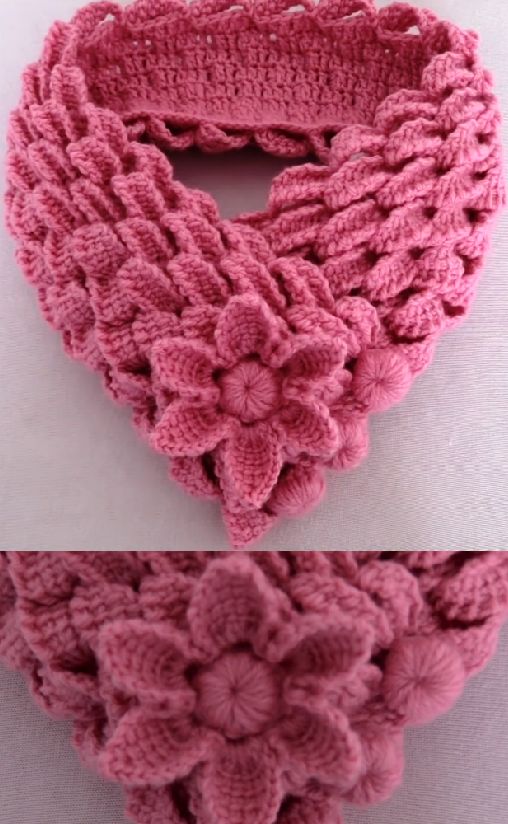
If you love combining elegance, nature motifs, and cozy handmade charm, then the Crochet Headband with Braids of Leaves and a 3D Flower is the perfect accessory for your next project. This beautifully textured headband blends braided leaf patterns with a stunning 3D flower centerpiece, making it a stylish and unique addition to your wardrobe—or a heartfelt handmade gift.
🍃 Why You’ll Love This Crochet Headband
- Nature-Inspired Design: Leafy braids add a fresh, organic feel to your headband.
- Elegant Flower Accent: The 3D flower brings a pop of charm and dimension.
- Customizable Size: Perfect for babies, kids, or adults—just adjust the length.
- Great for Gifts: A thoughtful handmade present for birthdays, holidays, or baby showers.
🧶 Materials You’ll Need
- DK or worsted weight yarn (choose soft yarns like cotton or acrylic blends)
- Crochet hook size 3.5 mm – 4.5 mm (depending on yarn weight)
- Yarn needle for weaving in ends
- Scissors
- Button or elastic (optional for closure)
🌿 Color Ideas
- Nature Inspired: Olive green leaves with a burgundy or ivory flower
- Boho Style: Earthy tones like terracotta, sand, and gold
- Bright & Playful: Rainbow leaves with a bold multicolor bloom
- Monochrome Chic: All white or all black for a modern, minimalist look

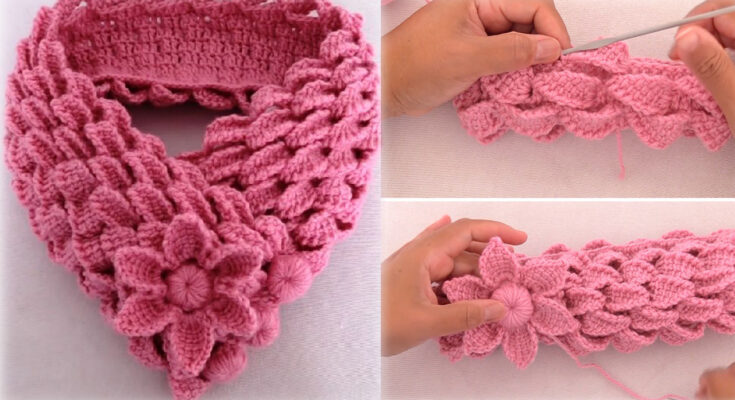
🪡 How to Crochet the Headband
Step 1: Leafy Braid Base
This section is created by crocheting leaf motifs and braiding them.
- Crochet 3 long chains (each about 2–3 times the desired headband length).
- On each chain, create a leaf pattern:
- SC in 2nd ch, HDC, DC, 2 TC in center, DC, HDC, SC, then repeat to form a chain of leaves.
- Once you have 3 leafy chains, braid them together, making sure they’re evenly tensioned.
- Fasten the ends and join them to form a round or add a button/elastic loop.
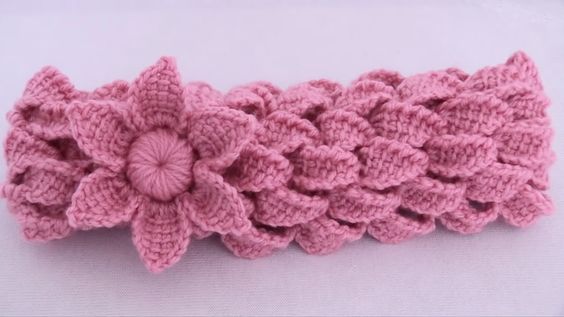
Step 2: Crochet the 3D Flower
Make this separately and sew it onto the braided band.
Simple 3-Layer 3D Flower:
- Start with a magic ring.
- Round 1: 12 SC in ring, join with slip stitch.
- Round 2: [Ch 3, SC in next stitch] around – forms 6 loops.
- In each loop: SC, HDC, 3 DC, HDC, SC (petal shape).
- For second and third layers, work behind previous petals, creating larger loops:
- Second layer: Ch 4 between petals
- Third layer: Ch 5 between petals, and increase DCs
- Fasten off and sew the flower to one side of the braided headband.
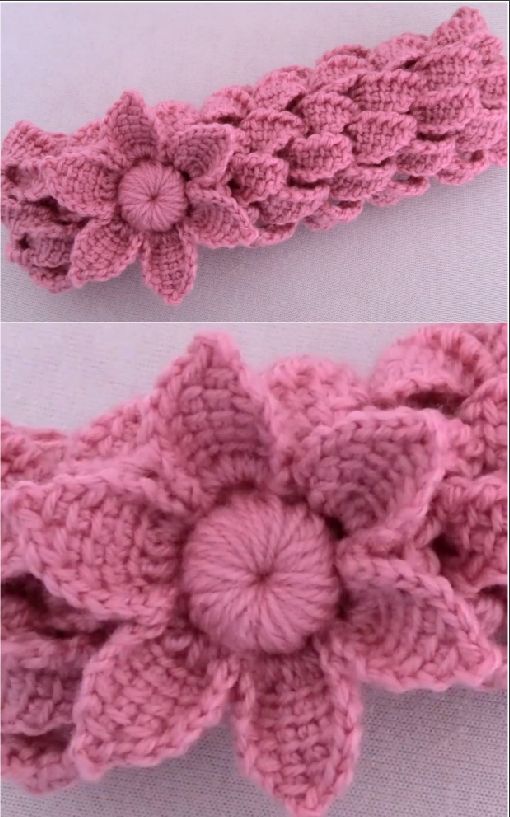
🌸 Optional Embellishments
- Sew a pearl or decorative button at the center of the flower.
- Add tiny crochet leaves behind the flower for extra flair.
- Use metallic thread for a bit of shimmer in the braids.
💡 Tips for Success
- Keep your tension even when braiding leaf chains to prevent twisting.
- Make a test flower first to practice shaping the petals.
- Try cotton yarn for a breathable summer headband or wool for winter coziness.
🎁 Perfect For:
- Spring and summer outfits
- Baby showers or birthday gifts
- Festivals and boho-themed events
- Matching mother-daughter accessories
🧵 Conclusion
The Crochet Headband with Braids of Leaves and a 3D Flower is a whimsical, stylish project that blends the beauty of nature with the charm of handmade craft. With endless customization possibilities, you can make it as simple or as bold as you like. It’s a quick and rewarding project that’s sure to become a favorite in your collection.
Video tutorial:
Happy Hooking! 🌿🌸🧶


