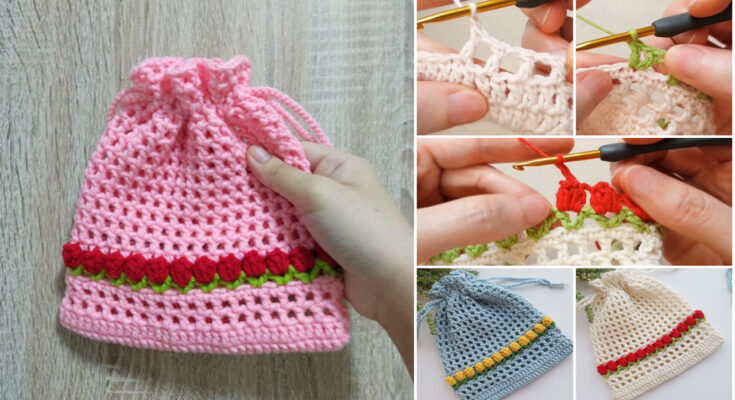
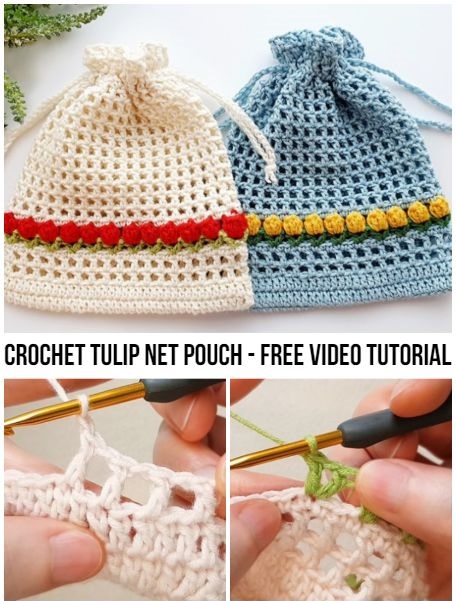
If you’re looking for a delicate and functional crochet project that’s as charming as it is useful, the Crochet Tulip Net Pouch is a perfect choice. This airy, lightweight pouch features a beautiful tulip stitch pattern, making it ideal for storing cosmetics, toiletries, small yarn projects, or even as a stylish gift bag. The floral design gives it a romantic touch, while the mesh construction keeps it light and breathable.

🧶 Why Make a Tulip Net Pouch?
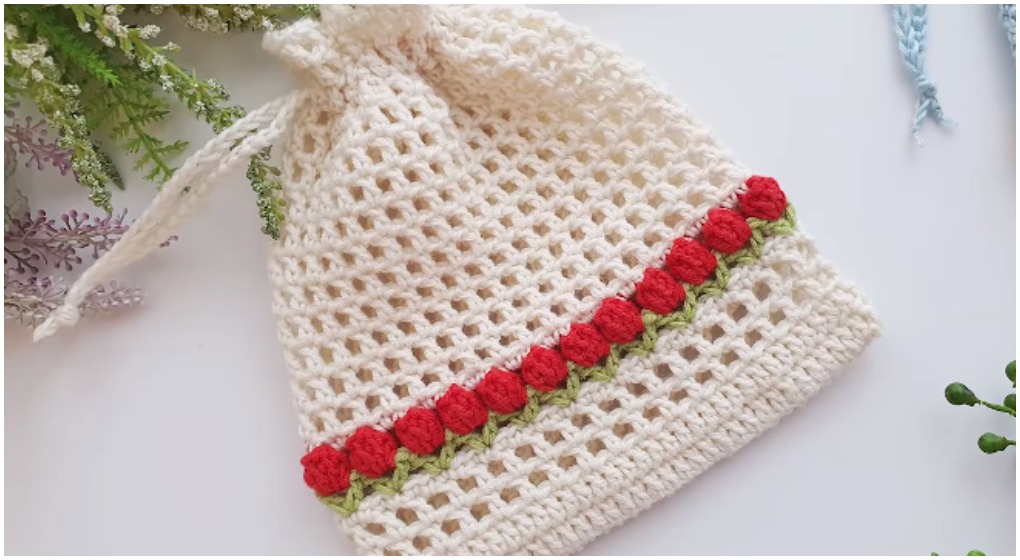
- Elegant Design: The tulip stitch resembles blooming flowers arranged in a neat net, giving a soft, feminine appeal.
- Multipurpose: Use it as a makeup bag, travel organizer, gift pouch, or craft storage.
- Quick & Beginner-Friendly: A simple stitch pattern with an elegant effect.
- Great for Gifts: Perfect for handmade presents or wrapping small treasures inside.
✂️ Materials Needed
- Light or medium weight cotton yarn (choose soft, flexible yarns)
- Crochet hook size 3.5 mm to 4.5 mm
- Yarn needle
- Scissors
- Drawstring or ribbon (optional for closure)
🎨 Color Suggestions
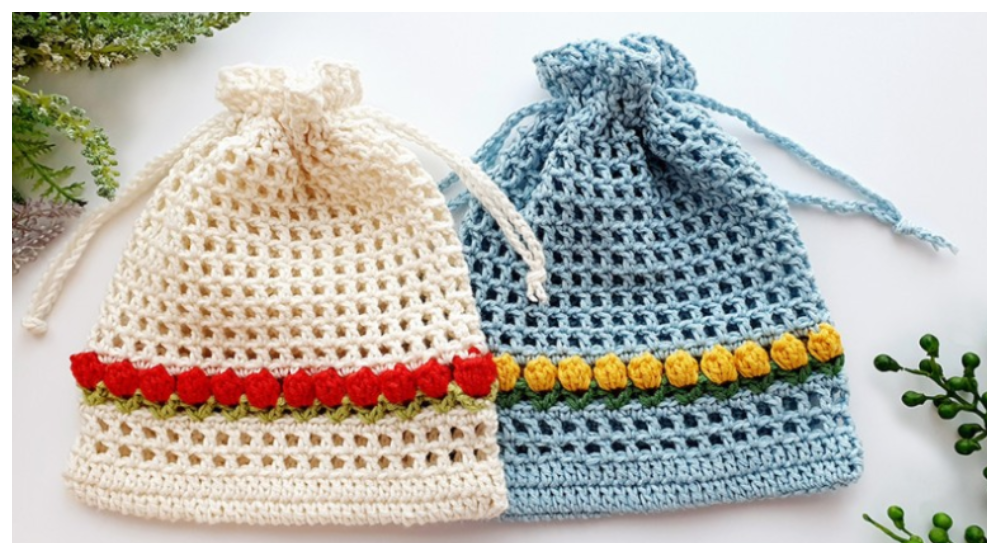
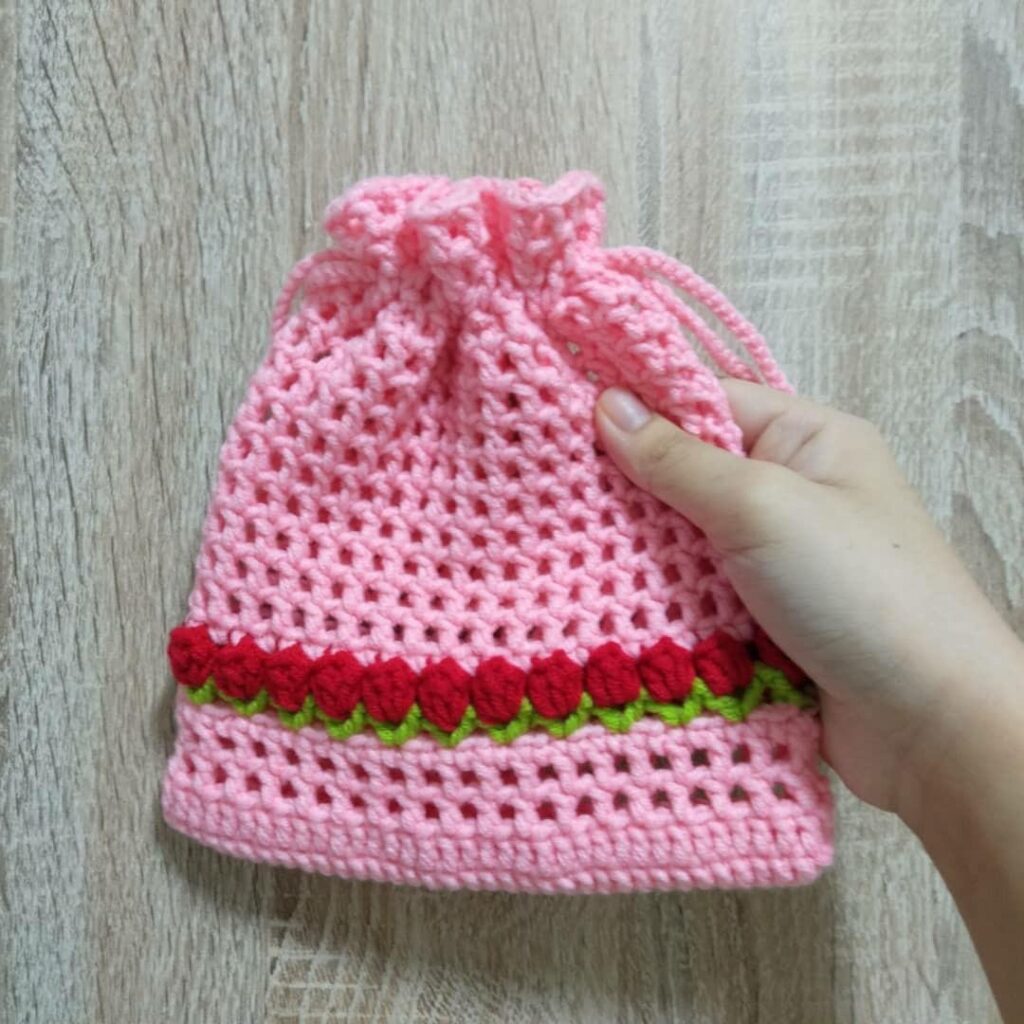
- Classic Tulip: Soft pinks or reds with green accents
- Minimalist Look: Neutral shades like cream, beige, or dusty rose
- Playful Pop: Mix vibrant colors like yellow, lavender, or turquoise
🌷 How to Crochet a Tulip Net Pouch
Step 1: Base Chain
- Start by chaining a multiple of 6 + 1 (e.g., 37 chains for a small pouch).
- Add one chain for turning.
Step 2: Row 1 – Tulip Stitch Setup
- SC in the second chain from hook.
- Skip 2 chains, [DC, ch1, DC] in the next chain (creates a V-stitch), skip 2, SC in next.
- Repeat pattern across the row.
- Turn your work.
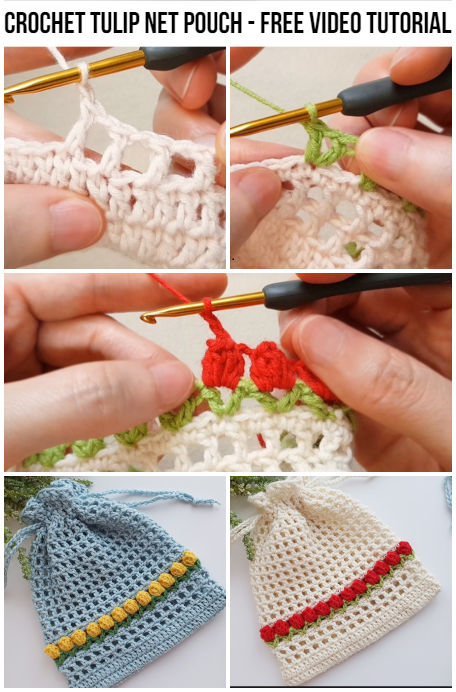
Step 3: Row 2 – Tulip Flowers
- Chain 3 (counts as first DC), work 3 DC in the ch-1 space of previous row’s V-stitch.
- Skip next SC, SC in next ch-1 space.
- Continue across with [3 DC in V-stitch, SC in next ch space].
- Turn.
Repeat Rows 1 and 2 until your fabric reaches desired size (usually 12–20 rows depending on pouch depth).
🧵 Assembly Instructions
- Fold the fabric in half lengthwise (like a book).
- Seam the sides using whip stitch or slip stitch.
- Add a drawstring or ribbon around the top row if desired—thread it through the open loops or add eyelets for a clean finish.
- Optional: Crochet a border at the top using single crochets for a more defined edge.
💡 Tips for Success
- Block your finished pouch gently to open up the tulip net stitch and show off the floral texture.
- For a sturdier pouch, line it with fabric using basic sewing techniques.
- Embellish with tiny crochet flowers, buttons, or beads for a unique look.
🎁 Perfect Uses for the Tulip Net Pouch
- Travel pouch for toiletries or chargers
- Gift bag for handmade jewelry or soaps
- Delicate yarn project holder (perfect for socks or amigurumi)
- Crochet pouch for kids to store treasures
🌸 Conclusion
The Crochet Tulip Net Pouch is more than just a handy little bag—it’s a celebration of creativity, style, and functionality. With its pretty floral design and easy construction, it’s an ideal project for crocheters of all levels. You’ll love how quickly it comes together and how lovely it looks when finished.
Video tutorial:
Happy Crocheting! 🌷🧶


