
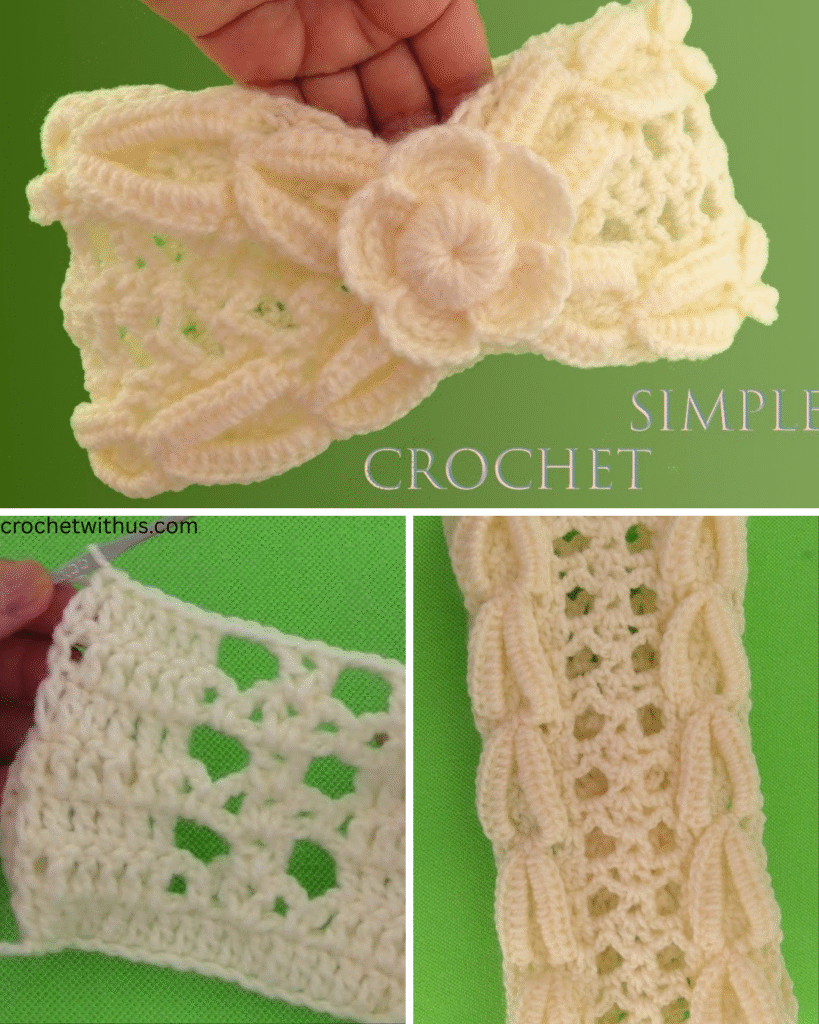
Crocheting your own headband with a decorative flower is a fun and rewarding project that blends practicality with creativity. Whether you’re crafting for yourself, making a gift, or preparing items to sell, a crocheted headband with a flower is a stylish accessory that’s quick to make and fully customizable.
In this article, you’ll learn step-by-step how to crochet a simple yet beautiful headband and a charming flower to go with it.

🧶 Why Crochet a Headband with Flower?
- Quick Project: Perfect for beginners or a last-minute handmade gift.
- Customizable: Choose your favorite colors, yarns, and flower styles.
- Functional & Fashionable: Keeps hair in place and adds a lovely touch to any outfit.
- Eco-Friendly: Handmade and reusable, a great alternative to mass-produced accessories.
✂️ Materials Needed:
- Worsted weight yarn (main color for the headband, contrasting color for the flower)
- Crochet hook: 4.0 mm to 5.0 mm (check your yarn label for guidance)
- Yarn needle for weaving in ends
- Scissors
- Measuring tape or ruler
- Button or snap (optional, for closure)
📚 Skill Level: Beginner to Intermediate
Basic Stitches Used:
- Chain (ch)
- Slip stitch (sl st)
- Single crochet (sc)
- Half double crochet (hdc)
- Double crochet (dc)
👒 Part 1: Crochet the Headband
You’ll make a flat strip that fits comfortably around your head.
✨ Basic Headband Pattern (Flat Style)
- Measure your head: Use a measuring tape to measure around your head where the headband will sit. Subtract 1–2 inches (the yarn stretches).
- Standard adult size: 20–22 inches long, 2–3 inches wide
- Foundation Row:
- Ch enough stitches to reach your desired length. (Example: 65 chains for 20” head circumference)
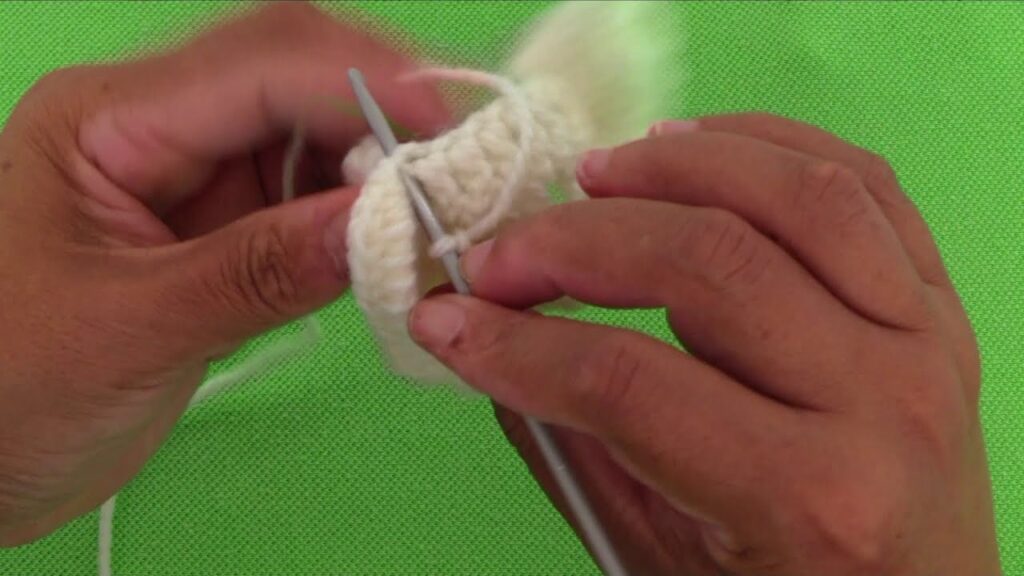
- Row 1:
- Turn, work 1 hdc in the second chain from hook and in each ch across. (This forms the first row)
- Ch 1, turn.
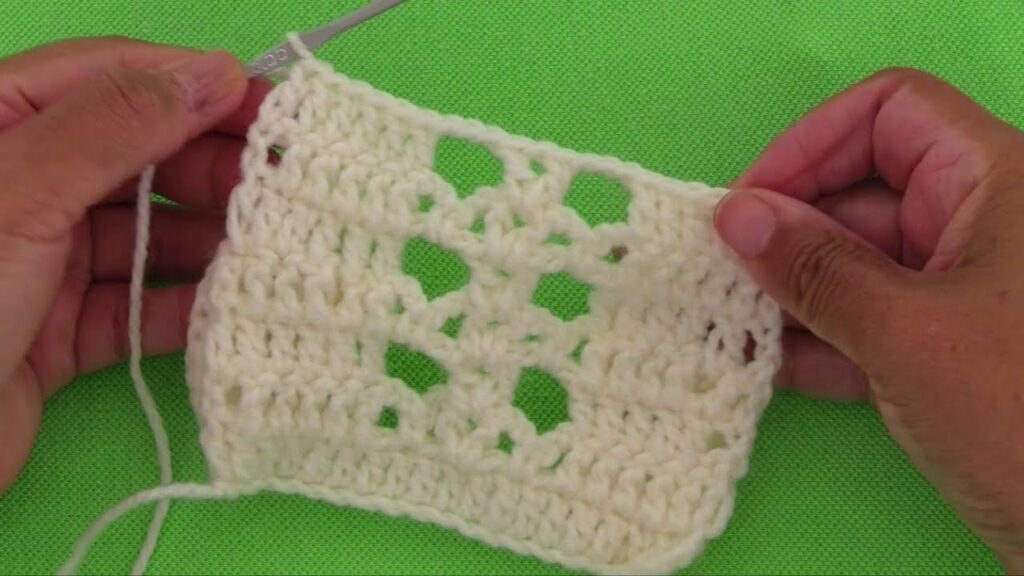
- Rows 2–6 (or to desired width):
- Work 1 hdc in each stitch across.
- Ch 1, turn.
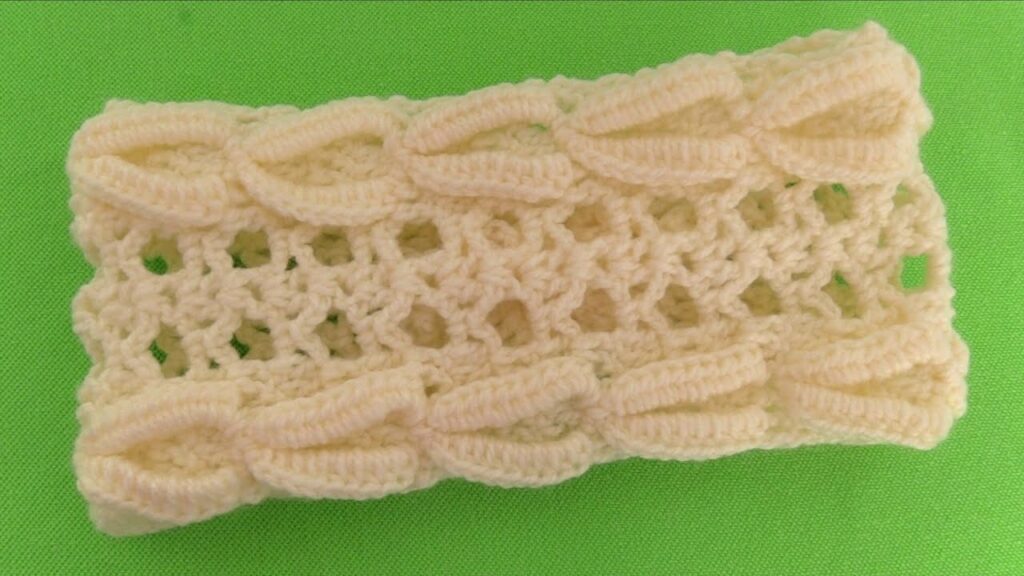
- Finish:
- Fasten off and leave a long tail.
- Use your yarn needle to sew the ends together (or add a button and buttonhole if you prefer an adjustable closure).
🌟 Optional: Add ribbing or texture with back loop stitches or alternate sc/hdc rows.
🌼 Part 2: Crochet the Flower
You can make a simple five-petal flower to attach to your headband.
🧵 Easy Crochet Flower Pattern
Round 1:
- With flower color, make a magic ring (or ch 4 and join with sl st to form a ring).
- Ch 1, work 10 sc into the ring. Sl st to join. (10 sts)
Round 2 (Petals):
- (Ch 2, dc, ch 2, sl st in next stitch) repeat around to make 5 petals.
- Fasten off, leaving a tail for sewing.
🌟 Optional: For a layered flower, make a second round with slightly larger petals (e.g., using ch 3 and 2 dc) and sew it underneath the first flower.
🧵 Part 3: Attach the Flower to the Headband
- Position the flower off-center or directly in the middle—wherever you’d like!
- Use the yarn tail and a yarn needle to sew the flower onto the headband securely.
- Weave in all loose ends neatly.
💡 Creative Variations
- Add leaves: Crochet simple green leaves and attach them behind the flower.
- Use different flower patterns: Try a rose, daisy, or sunflower.
- Embellish with buttons or beads: Sew a decorative button in the flower center.
- Change yarn textures: Use velvet or variegated yarn for a luxe look.
✅ Tips for Success
- Always check your gauge and stretch—headbands should be snug but comfortable.
- Use cotton yarn for warmer seasons and acrylic or wool for colder weather.
- Practice your flower pattern on scrap yarn before sewing it to your headband.
- Wash and block your headband if needed to shape it nicely.
🎁 Perfect for Gifts or Market Stalls
Crocheted headbands with flowers are ideal for:
- Baby showers and birthdays
- Craft fairs and Etsy shops
- Quick weekend projects
They are lightweight, easy to package, and always appreciated as handmade gifts.
Video tutorial:
🌸 Conclusion
Crocheting a headband with a flower is a fast, fun, and fulfilling project suitable for all skill levels. With just a few basic stitches, some yarn, and your imagination, you can create a gorgeous accessory that’s both functional and fashionable. Whether you’re dressing up your look, keeping your ears warm, or crafting gifts, this project brings joy every step of the way.


