In the world of handmade fashion, few items blend functionality and charm as effortlessly as a tiny crochet bag. Compact, stylish, and endlessly customizable, these miniature accessories are perfect for everything from carrying lip balm and keys to serving as fashionable statement pieces. Whether you’re a seasoned crocheter or a curious beginner, making a beautiful tiny bag is a fulfilling project that can be completed in just a few hours. In this article, we’ll explore what makes crochet tiny bags so appealing, how to create one, and tips to make yours truly stand out.

Why Crochet a Tiny Bag?
Tiny crochet bags have gained popularity for a variety of reasons:
- Quick and Easy Projects: They require minimal yarn and time, making them ideal for busy crafters.
- Perfect Gifts: Their small size and charming appeal make them perfect handmade gifts.
- Eco-Friendly: Crochet bags are reusable and sustainable, a stylish alternative to plastic.
- Customizable: With endless color, stitch, and embellishment options, each bag can reflect your unique style.
Materials You’ll Need
To begin your tiny bag journey, gather these basic supplies:
- Yarn: Cotton or acrylic yarn works best. Choose medium weight (worsted) or lighter for delicate designs.
- Crochet Hook: Usually, a 3.5mm to 5mm hook is suitable, depending on your yarn weight.
- Scissors
- Tapestry Needle: For weaving in ends.
- Button or Magnetic Clasp: Optional closures for added functionality.
- Lining Fabric (optional): To give structure and durability to the bag’s interior.
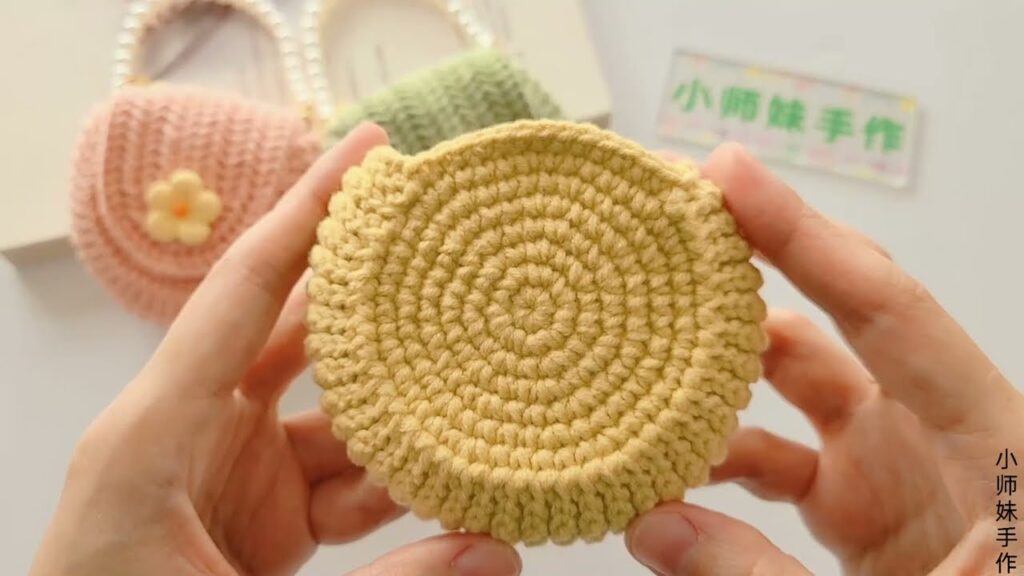
Basic Pattern for a Crochet Tiny Bag
Here’s a beginner-friendly pattern that forms the foundation of most tiny crochet bags:
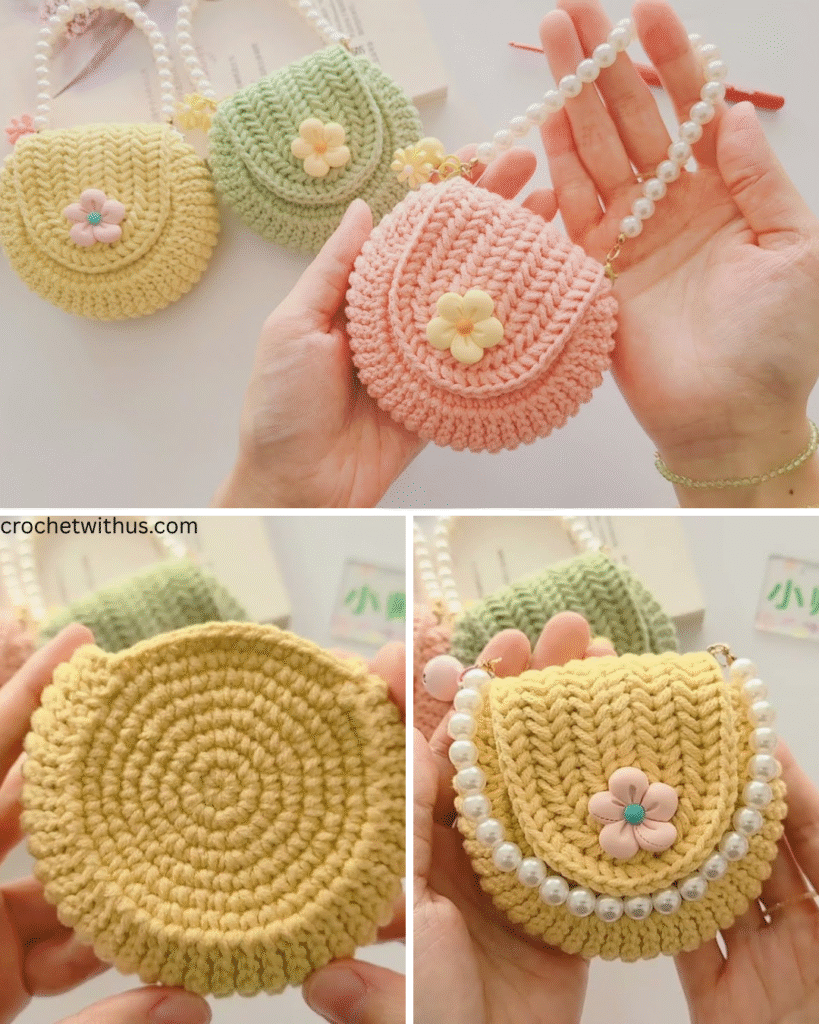
1. Base
- Chain 21 (or your desired width).
- Row 1: Single crochet (SC) in the second chain from the hook and in each across. Turn. (20 stitches)
- Row 2–12: SC in each stitch across. Turn.
This creates a rectangular base, which can be adjusted for different sizes.
2. Body
- Round 1: SC around the entire edge of the rectangle, placing 3 SC in each corner to turn. Join with a slip stitch.
- Round 2–10 (or desired height): Continue SC in the round, joining each round with a slip stitch.
3. Strap (Optional)
- Decide on your preferred strap length.
- Chain 60–100, and attach to both sides of the bag.
- SC over the chain for thickness if desired.
4. Closure
- Attach a button or sew in a magnetic snap.
- You can also create a flap by continuing a few extra rows on one side before attaching the strap.
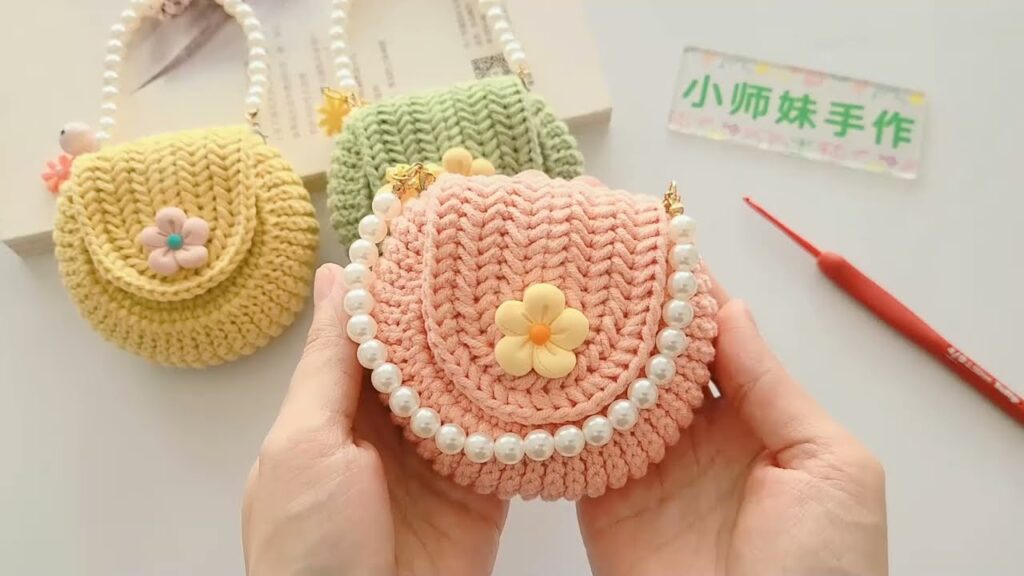
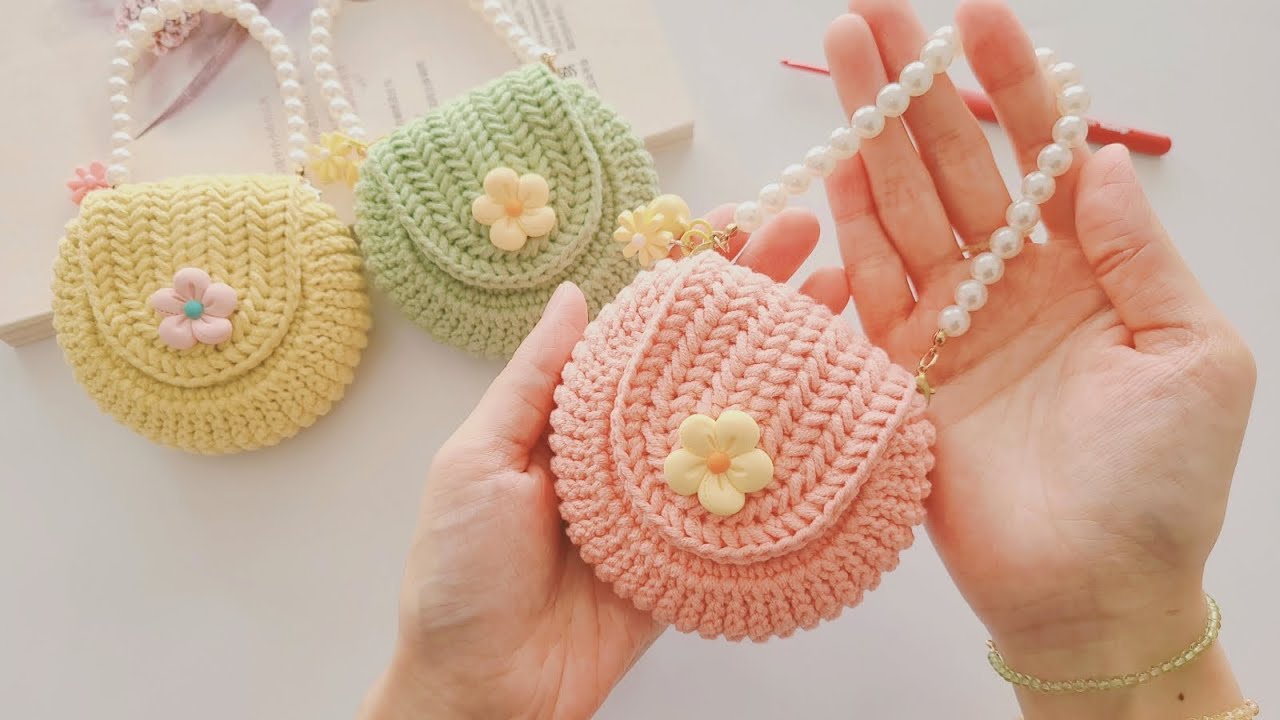
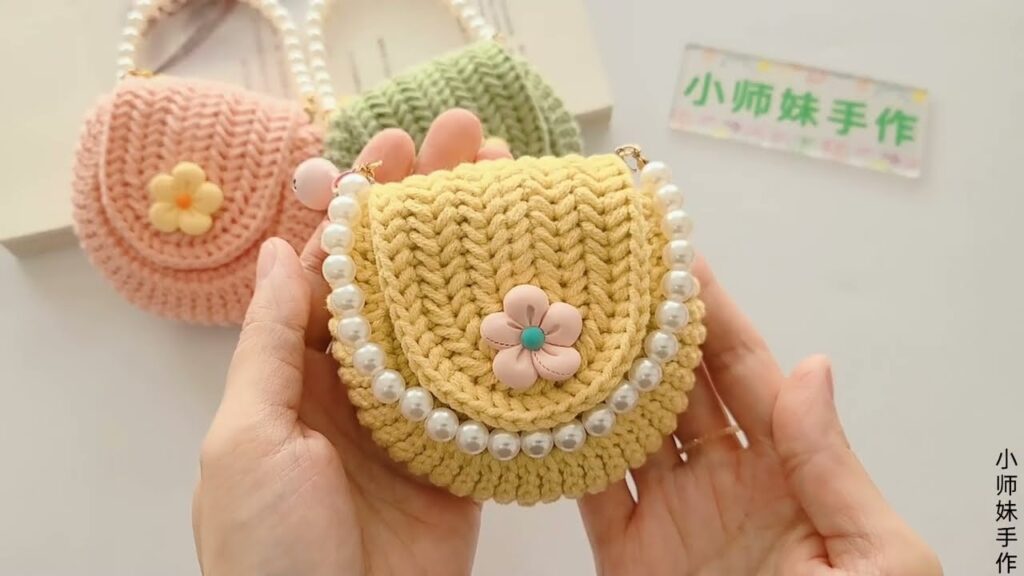
Design Ideas to Elevate Your Tiny Bag
- Color Blocking: Use two or three contrasting yarn colors for bold visual interest.
- Texture: Try bobble stitches, puff stitches, or shells for added texture.
- Granny Squares: Make multiple mini granny squares and sew them together for a vintage look.
- Appliqués: Add flowers, stars, or heart motifs to personalize your bag.
- Beading or Embroidery: Sew on beads or embroider simple patterns onto your bag for elegance.
Care and Maintenance
- Hand wash your bag in cold water and lay it flat to dry.
- If lined, remove the fabric lining (if detachable) before washing.
- Store flat or hanging to maintain its shape.
Inspiration from the Community
Many crochet enthusiasts share their tiny bag creations on platforms like Instagram, Pinterest, and Ravelry. Join online crochet communities to find patterns, tutorials, and design inspiration. Don’t be afraid to put your own spin on a popular design—after all, that’s the beauty of handmade work.
Final Thoughts
Creating a beautiful tiny crochet bag is more than just a crafting project—it’s a way to express creativity, explore textures, and even reduce waste by making your own accessories. Whether you keep your tiny bag for yourself or gift it to a friend, the satisfaction of seeing your work come to life is deeply rewarding.
So grab your yarn and hook—your next favorite accessory is just a few stitches away.
Video tutorial:


