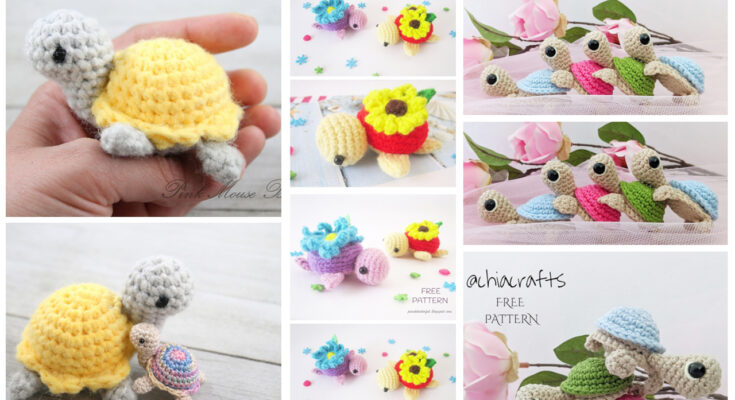
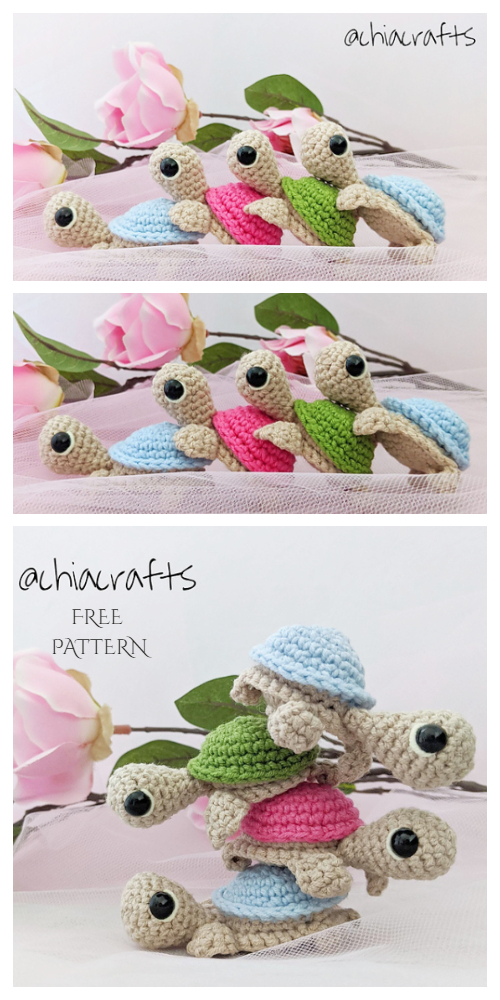
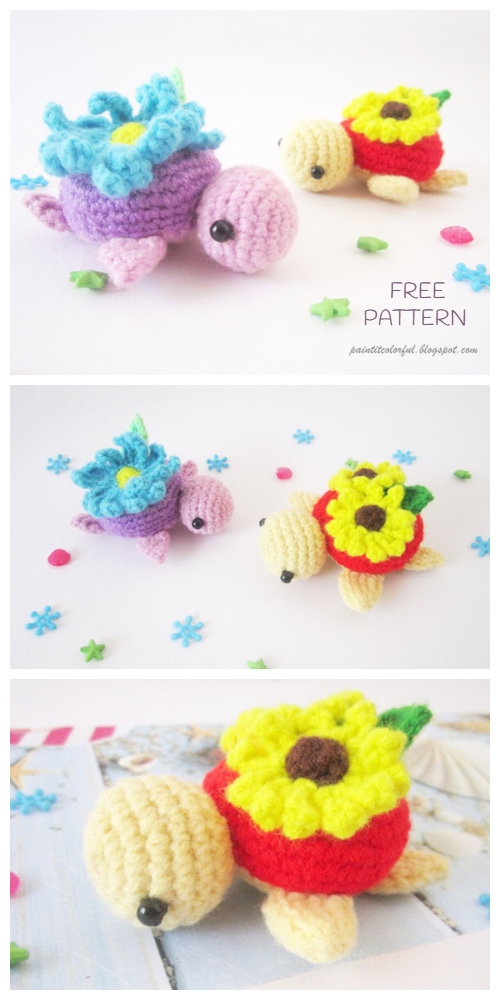
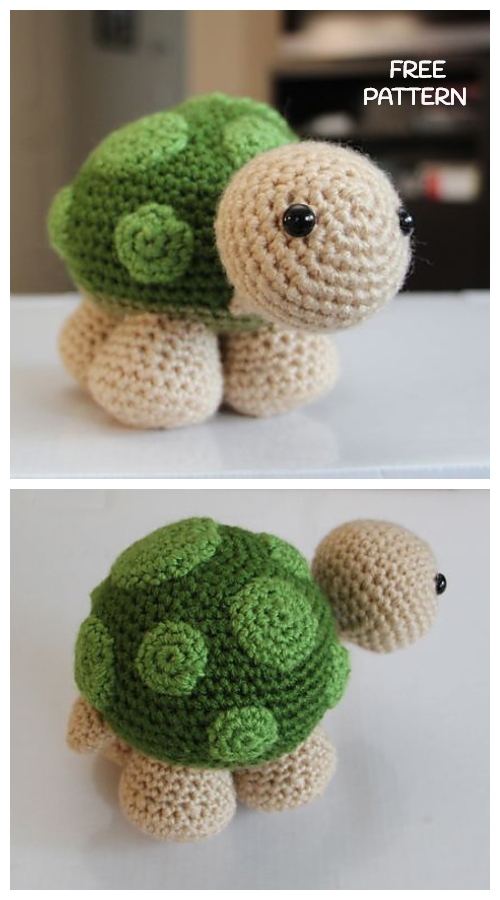
Crochet little turtle amigurumi is a delightful and heartwarming project, perfect for gifting or adding to your handmade collection. These charming sea creatures are not only adorable but also great for beginners and experienced crocheters alike. You can customize their colors, facial expressions, and even add accessories to make each one unique.
🧶 Materials Needed
- Worsted weight yarn in green, brown, and accent colors
- Crochet hook (2.5 mm – 3.5 mm)
- Fiberfill stuffing
- Yarn needle
- Safety eyes or embroidery thread for the face
- Stitch marker
📘 Abbreviations (US Terms)
- MR – Magic Ring
- SC – Single Crochet
- INC – Increase (2 SC in one stitch)
- DEC – Decrease (single crochet 2 stitches together)
- SL ST – Slip Stitch
- ST – Stitch
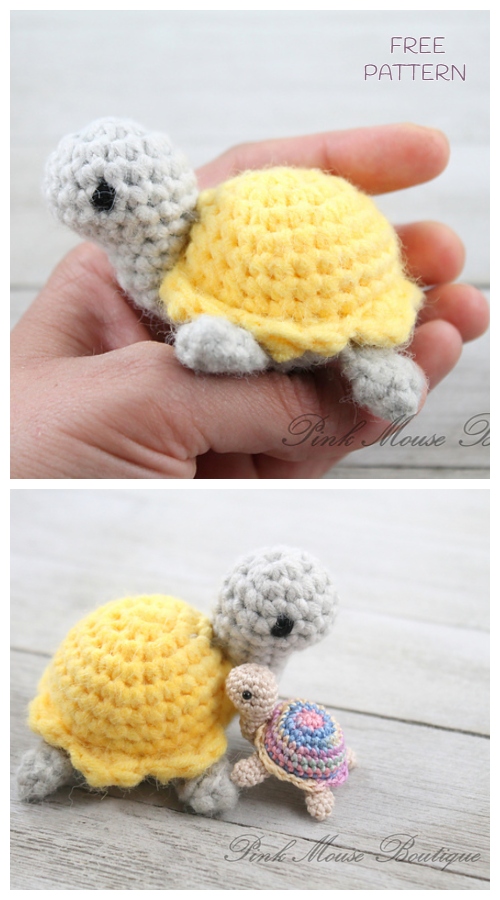
🐢 Basic Turtle Pattern
Shell (Top Part)
- Start with MR, SC 6 into ring (6)
- INC in each ST around (12)
- (SC 1, INC) repeat around (18)
- (SC 2, INC) repeat around (24)
- Continue increasing until desired shell size
- Fasten off and set aside
Body (Bottom Part)
- Repeat shell pattern up to same round
- Fasten off, do not close
Join Shell and Body
- Place stuffing inside
- Sew together both pieces with yarn needle
Head and Legs
- SC 6 in MR
- INC around for one or two rounds depending on desired size
- Stuff lightly and sew to body
Tail and Eyes
- Tail: CH 4, SL ST back, sew to back
- Eyes: Attach safety eyes or embroider with black thread
🎨 Customization Ideas
- Use pastel yarn for a baby toy version
- Add tiny flowers or bows to the shell
- Embroider a smile or sleepy eyes
🌟 Conclusion
Creating a little turtle amigurumi is both fun and rewarding. These miniature turtles can be keychains, nursery decorations, or treasured toys. With a few basic stitches and a splash of creativity, you’ll have a charming crochet turtle to show off or share.
Happy Crocheting! 🐢🧵


