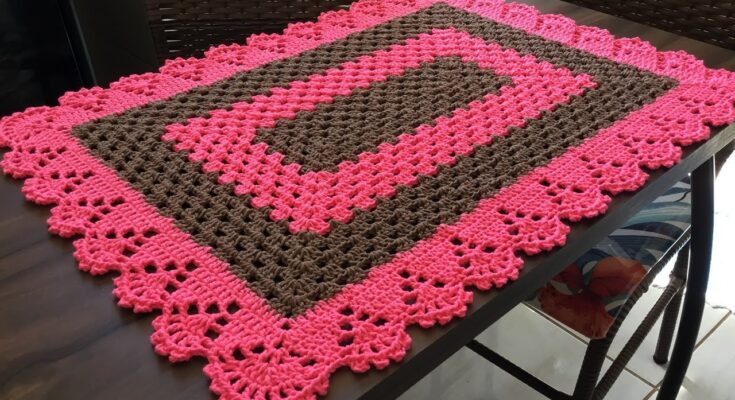
A crochet rectangular rug is a stylish and practical addition to any room. Whether you want to spruce up your living space, add comfort to your bathroom, or bring charm to your entryway, a handmade rug can do the trick. With basic stitches and durable yarn, you can easily craft a beautiful piece to suit your home decor.
🧶 Materials Needed
- Chunky cotton or T-shirt yarn (durable and easy to clean)
- Crochet hook (6.0 mm to 9.0 mm, depending on yarn)
- Yarn needle
- Scissors
- Measuring tape (optional)
📘 Abbreviations (US Terms)
- CH – Chain
- SC – Single Crochet
- DC – Double Crochet
- HDC – Half Double Crochet
- SL ST – Slip Stitch
- ST – Stitch
🧵 Basic Pattern for a Rectangular Rug
Step 1: Foundation Chain
- CH the length of your desired rug width (e.g., CH 60 for a small entryway rug).
Step 2: First Row
- HDC in 2nd CH from hook and across. CH 1, turn.
Step 3: Continue Rows
- HDC in each stitch across. CH 1, turn.
- Repeat until the rug reaches your desired length.
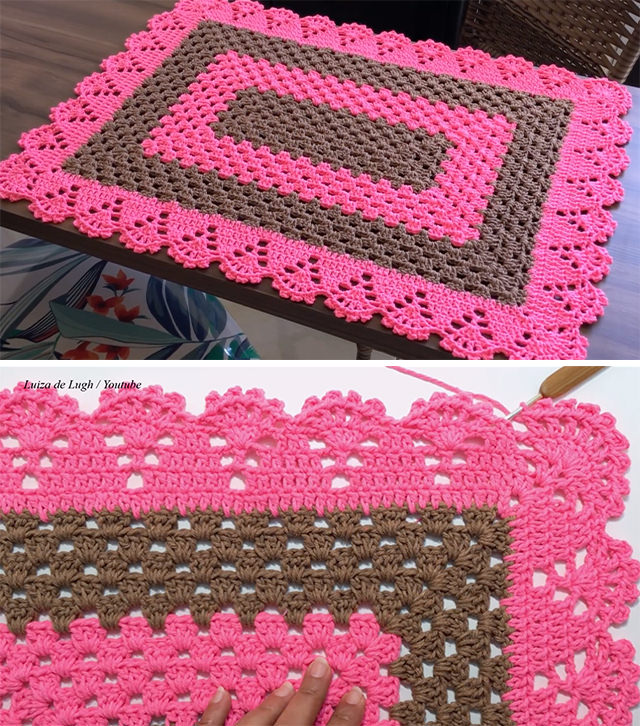
🌈 Variations and Edging
- For texture, alternate rows of SC and DC.
- Use a moss stitch (SC, CH 1, skip 1, SC) for a woven look.
- Add a border: SC evenly around the edges for a neat finish.
- Add tassels or fringe to the shorter ends for a decorative touch.
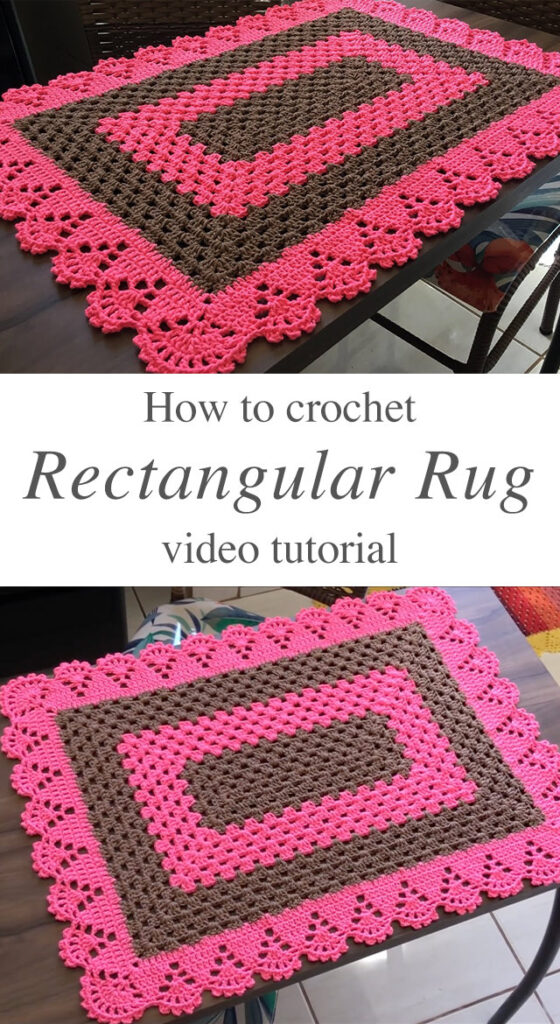
🎨 Design Ideas
- Stripes: Alternate colors every few rows for a bold design.
- Gradient: Use ombré yarn for a smooth color transition.
- Bordered Look: Crochet a contrasting color around the edge.

🏠 Tips for Success
- Use stitch markers to help keep edges straight.
- Block the finished rug to help it lay flat.
- Consider using a non-slip rug pad underneath.
🌟 Conclusion
Creating your own crochet rectangular rug is both fun and rewarding. It adds a personal, handcrafted charm to your space and can be tailored in size, shape, and color. Whether you make it minimal or go bold with texture and hues, your rug will be a cozy and beautiful part of your home decor.
Happy Hooking! 🧶🏡


