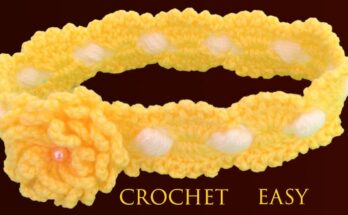
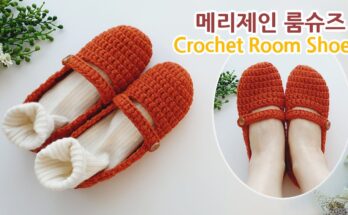
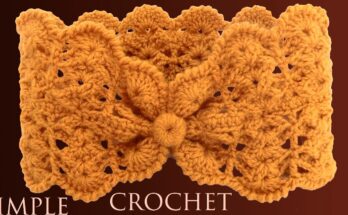
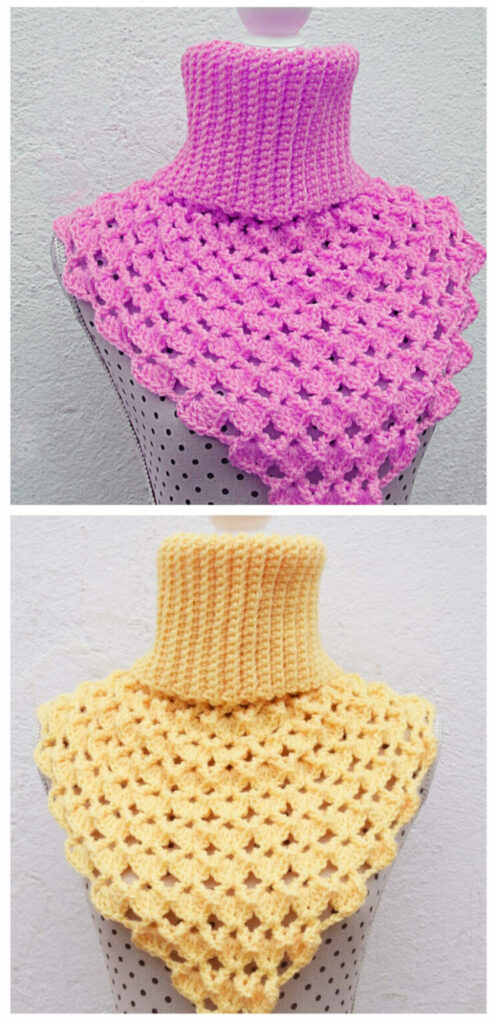
A handmade crochet collar adds a charming, vintage-inspired touch to any outfit. Whether you’re enhancing a plain dress or gifting a unique accessory, this simple and elegant project is ideal for beginners and experienced crocheters alike.

🧵 Why Crochet a Collar?
- Elevates basic clothing pieces
- A great gift idea for fashion lovers
- Fast and satisfying project
- Ideal for using leftover yarn
✨ Materials Needed
- Cotton or lightweight yarn (size 3 or fingering weight)
- Crochet hook size 2.5 mm – 3.5 mm
- Yarn needle
- Small button (for closure)
- Scissors
📘 Abbreviations (US Terms)
- CH – Chain
- SC – Single Crochet
- DC – Double Crochet
- SL ST – Slip Stitch
- ST – Stitch
🧶 Easy Collar Pattern
Foundation Row
- CH 66 (or adjust depending on neck size).
- SC in 2nd CH from hook and across. Turn. (65 SC)
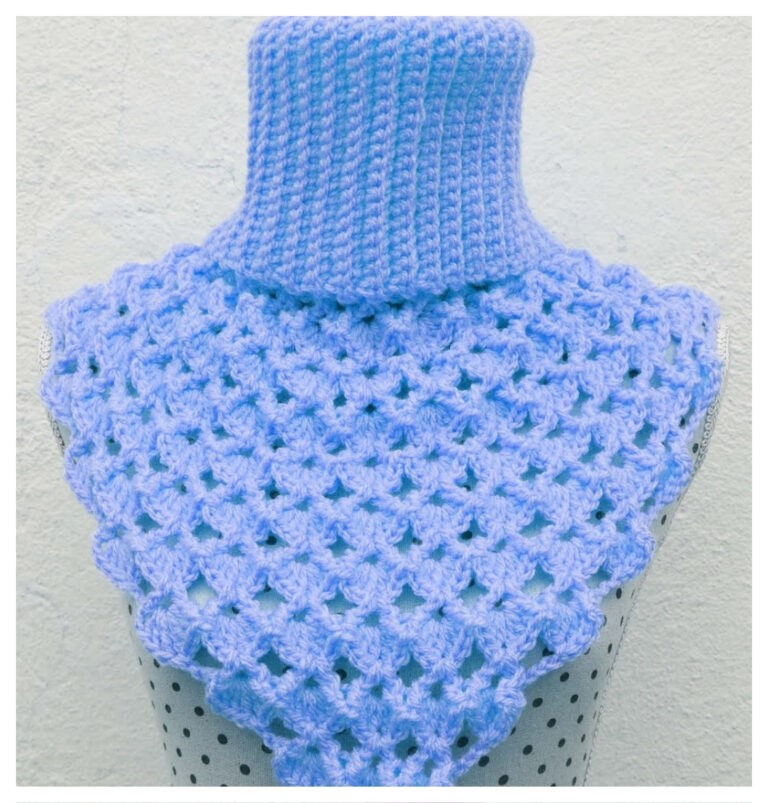
Lace Section
- CH 3 (counts as DC), skip 1 ST, DC in next, CH 1, repeat from * to end. Turn.
- CH 3, DC in CH-1 space, CH 1, repeat across. Turn.
- Repeat previous row until lace is 2–3 inches deep.
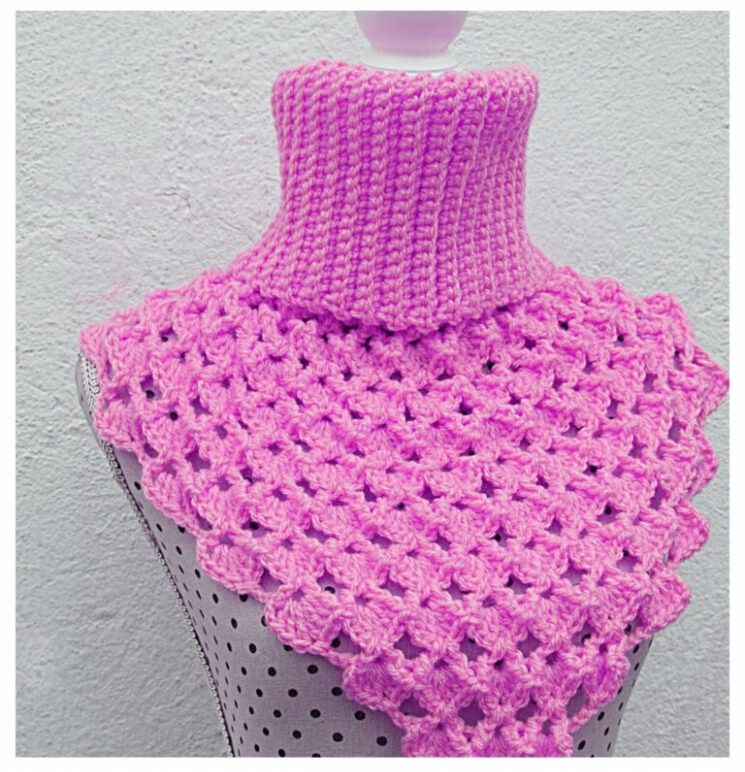
Edging (Optional Picot Trim)
- SC, CH 3, SL ST in first CH (picot made), SC in next 2 STs, repeat across edge.
🎀 Finishing
- Weave in ends with yarn needle.
- Attach button to one end.
- Use a CH-loop on the opposite side for fastening.
💡 Tips
- Try different yarn textures (metallic, silk) for dressier looks.
- Adjust length by adding/subtracting foundation chains.
- Block your finished collar to keep it flat and shaped.

🏁 Conclusion
Crochet collars are stylish, versatile, and simple to make. They add personality to everyday clothing and can be personalized with different yarn colors and trims. Whether you prefer a dainty lace look or a bold statement piece, a crochet collar is a timeless accessory you’ll be proud to wear or gift.
Video tutorial:
Stay creative and keep crocheting! 🧵🌸
