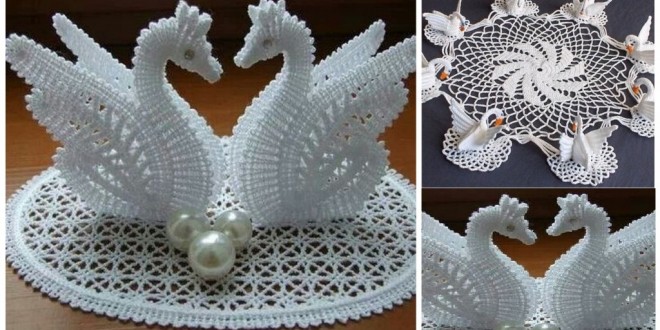
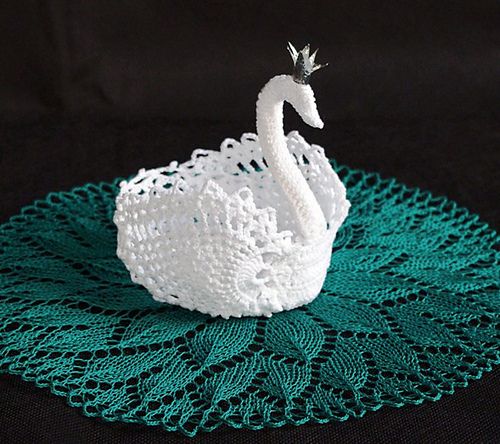
A crocheted swan is a stunning representation of grace and serenity, making it a perfect piece for decor, baby mobiles, gifts, or special keepsakes. With its smooth curves, feathery texture, and iconic neck shape, this project combines simple techniques with thoughtful design to produce a breathtaking result. Whether you are an intermediate crocheter or an ambitious beginner, this tutorial will guide you through crafting your own beautiful swan.
🧵 Materials Needed
- Worsted weight yarn or soft cotton yarn in white (body), black (eyes), orange/yellow (beak)
- Crochet hook: 3.0 mm or 3.5 mm
- Fiberfill stuffing
- Yarn needle
- Safety eyes or black embroidery thread
- Stitch marker
- Optional: wire for shaping the neck, feathers or lace for embellishment
🪡 Crochet Techniques Used
- Magic ring
- Single crochet (SC)
- Increase (INC)
- Decrease (DEC)
- Slip stitch (SL ST)
- Basic sewing/attaching pieces
🦢 Part 1: Swan Body and Neck
Body:
- Round 1: Magic ring, 6 SC (6)
- Round 2: INC around (12)
- Round 3: SC, INC repeat (18)
- Round 4: 2 SC, INC repeat (24)
- Continue increasing to 36–42 stitches.
- Work even rounds for body length.
- Begin decreasing slowly to shape the back of the swan.
- Stuff body firmly.
- Close with last decreases and fasten off.
Neck:
- Chain 20–25 depending on how long you want the neck.
- Turn and SC in each chain.
- Work 2–3 rows back and forth for thickness.
- Roll and sew the piece to form a tube.
- Insert wire or lightly stuff.
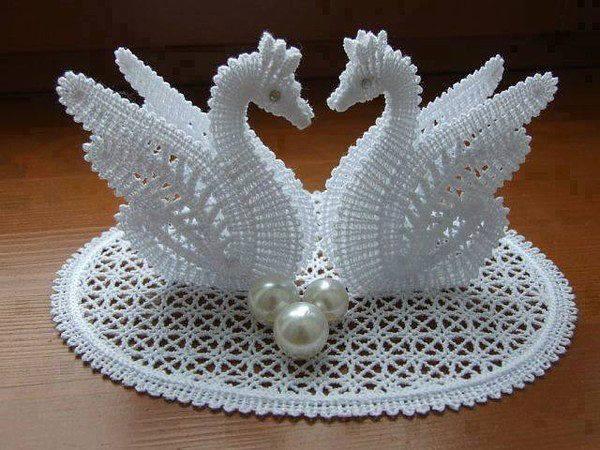
- Attach neck to the body, shaping it into a graceful curve (like a question mark).
🧠 Head and Beak
Head:
- Start with a magic ring and work SC increases up to 18 stitches.
- Work even rounds, then decrease to 6 and stuff lightly.
- Attach to top of the neck.
Beak:
- Using orange yarn, chain 4.
- SC back and forth, decreasing at the tip to make a triangle.
- Sew to head tip.
👁️ Eyes
- Use safety eyes or embroider small black eyes.
- Optionally, add a small white thread dot for shine.
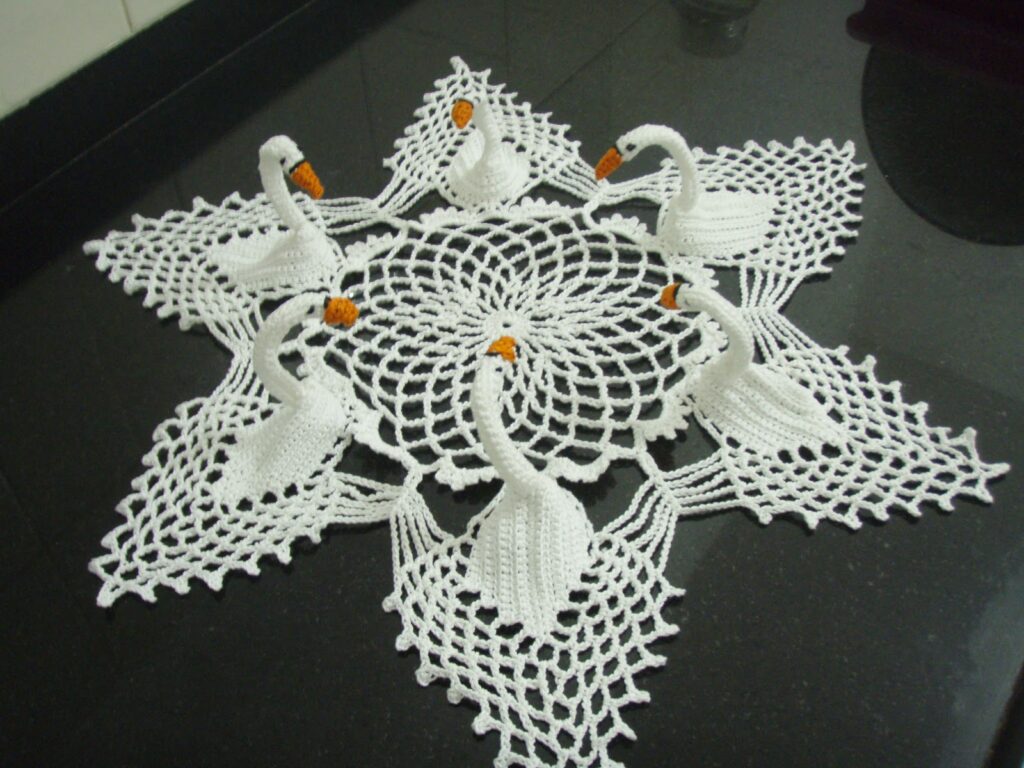
🌸 Wings and Tail Feathers
- Chain 12–15 for each wing.
- Work in SC or DC, forming a half-moon or teardrop shape.
- Make two wings and sew on either side of the body.
- For tail feathers, make smaller versions and attach them at the back.
Optional Add-ons:
- Use lace, tulle, or feathers for realistic texture.
- Add a crown or bow to turn your swan into a princess.
🎀 Customization Ideas
- Color Variations: Use black for a “Black Swan” version.
- Baby Swan (Cygnet): Create a smaller version using thinner yarn.
- Functional Toy: Add a rattle inside for baby toys.
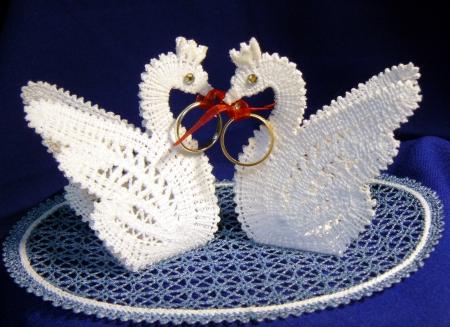
- Wedding or Nursery Decor: Use pearls, beads, or ribbons for embellishment.
📌 Tips for Success
- Use stitch markers to track rounds.
- Keep stitches tight to avoid stuffing showing through.
- Shape the neck while it’s still flexible for best results.
- Block wings slightly for a smooth finish.
💬 Final Thoughts
A crocheted swan is a symbol of beauty, elegance, and peace. Whether made as a heartfelt gift, part of a baby mobile, or a whimsical decor piece, this project is sure to charm and inspire. With just a hook, some yarn, and creativity, you can bring this graceful creature to life.
Happy Crocheting, and may your swan glide smoothly off your hook! 🦢✨
Video tutorial:


