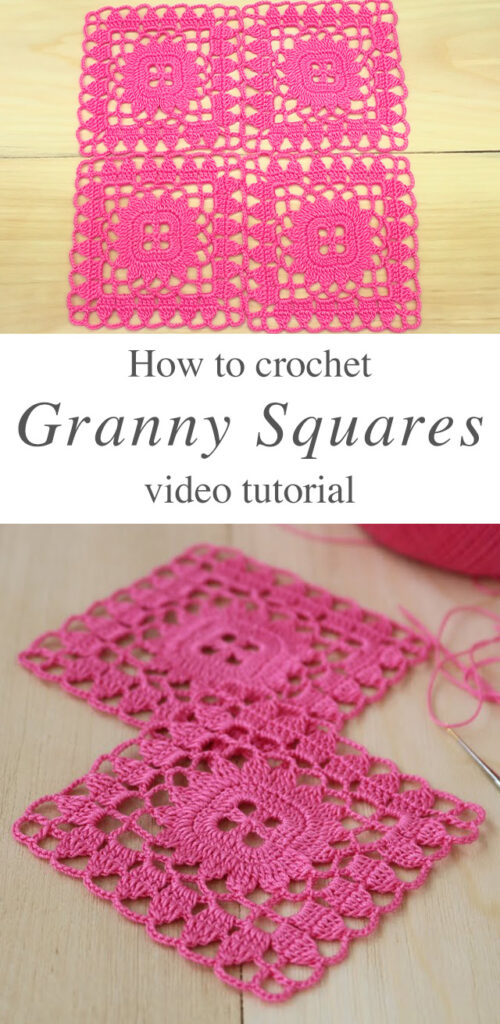
Crochet Granny Square Motif Master Class: A Complete Guide
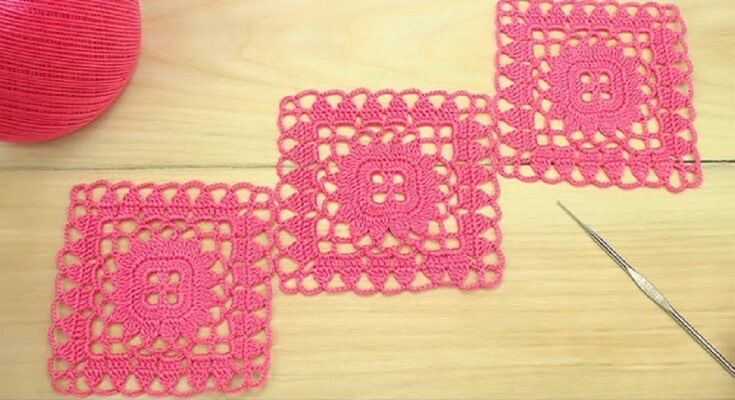
Granny squares are one of the most versatile and beloved crochet motifs. Whether you’re a beginner or an experienced crocheter, mastering the granny square can open up a world of creative possibilities. This master class will guide you through the basics, variations, joining techniques, and project ideas for granny square motifs.
Materials Needed:
- Yarn: Worsted-weight or any preferred yarn in multiple colors
- Hook: Size G (4.0 mm) or H (5.0 mm) crochet hook
- Scissors
- Yarn needle
- Stitch markers (optional)
Step 1: Classic Granny Square Pattern
- Foundation: Start with a magic ring or chain 4 and join with a slip stitch to form a loop.
- Round 1: Chain 3 (counts as first double crochet), work 2 double crochets into the ring, chain 2. Work 3 double crochets, chain 2 three more times. Slip stitch to the top of the first chain 3 to close the round.
- Round 2: Slip stitch into the next two stitches and into the chain-2 space. Chain 3, work 2 double crochets, chain 2, and 3 more double crochets into the same space (this forms a corner). In each corner space, repeat 3 double crochets, chain 2, 3 double crochets. Join with a slip stitch.
- Round 3 and Beyond: Continue expanding by working granny clusters (3 double crochets) in each side space and corners in the chain-2 spaces.
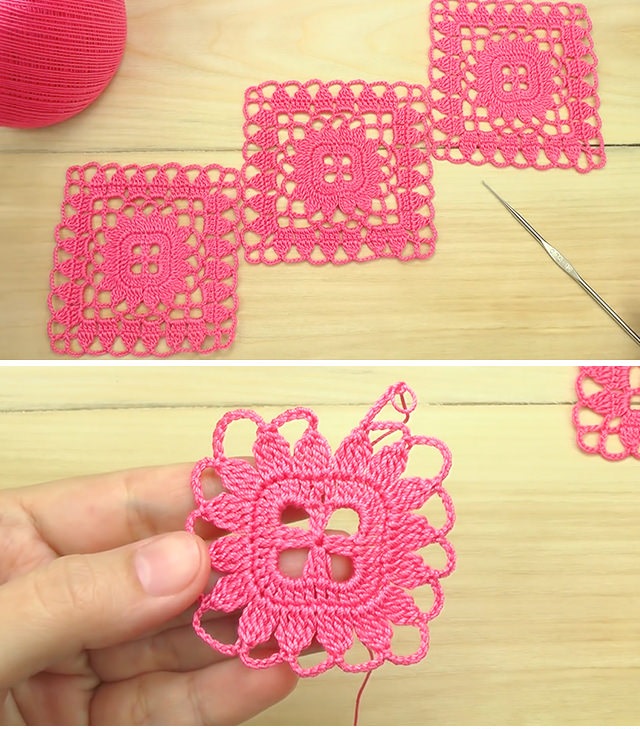
Step 2: Variations of Granny Squares
- Solid Granny Square: Replace chain spaces with double crochets for a denser fabric.
- Sunburst Granny Square: Use puff stitches for a textured, floral-like design.
- Hexagonal Granny Square: Adjust stitch counts to form a six-sided motif.
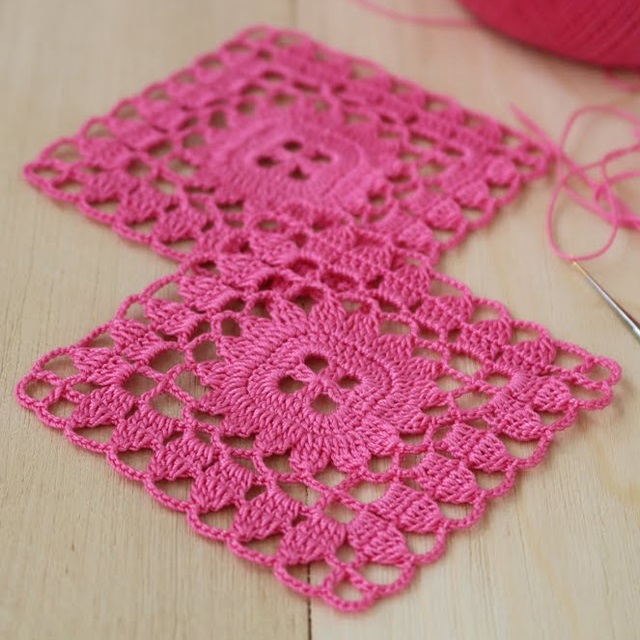
- Lacy Granny Square: Use chain spaces to create an airy, decorative effect.
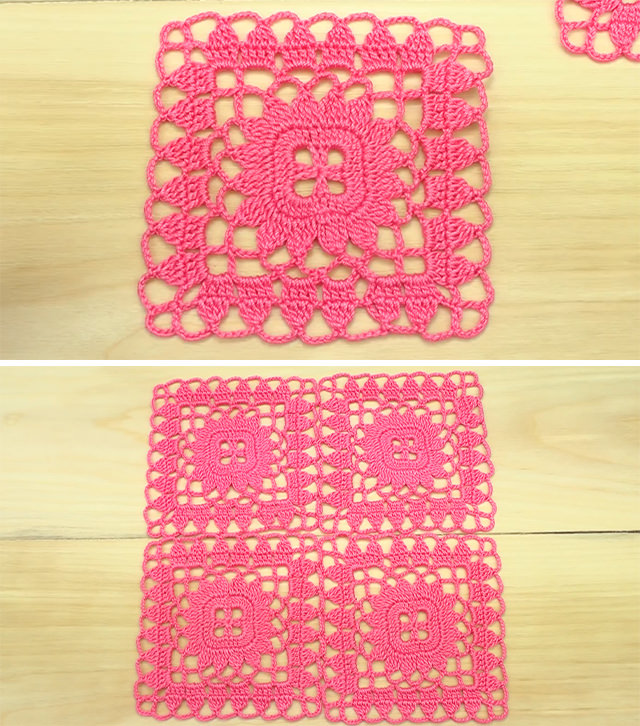
Step 3: Joining Granny Squares
- Slip Stitch Join: Hold two squares together and slip stitch through both loops of adjacent stitches.
- Whipstitch Join: Sew squares together using a yarn needle for an invisible seam.
- Join-As-You-Go: Connect squares while crocheting the last round for a seamless finish.
- Flat Braid Join: Use chain loops to create an elegant, openwork connection between motifs.
Step 4: Blocking and Finishing
- Block each square by pinning it to a foam board and spraying lightly with water to set the shape.
- Weave in ends using a yarn needle to ensure a neat finish.
- Edge the entire project with a round of single crochet or picot edging for a polished look.
Step 5: Project Ideas Using Granny Squares
- Blankets & Afghans: Create a classic granny square blanket in coordinating colors.
- Garments: Make a boho-style granny square cardigan or vest.
- Accessories: Use small squares for bags, coasters, or cushion covers.
- Home Décor: Join squares for a unique table runner, wall hanging, or rug.
Final Thoughts
Granny squares are a timeless crochet technique that allows for endless creativity. Whether you’re making a simple motif or an elaborate project, mastering this skill will bring endless possibilities to your crochet journey.
Happy Crocheting!

Video tutorial:


